Toolpack:Enable a custom RADIUS dictionary A
From TBwiki
(Difference between revisions)
(→Applies to version(s): v2.7.) |
(→Applies to version(s): v2.7.) |
||
| (3 intermediate revisions by one user not shown) | |||
| Line 3: | Line 3: | ||
This page describes how to enable a custom RADIUS dictionary. | This page describes how to enable a custom RADIUS dictionary. | ||
| − | 1- Select ''' | + | 1- Select '''RADIUS''' from the navigation panel. |
[[Image:RadiusEnable_0.png|border]] | [[Image:RadiusEnable_0.png|border]] | ||
| − | 2- | + | 2- Click '''Advanced Parameters'''. |
| − | [[Image:RadiusEnable_1. | + | [[Image:RadiusEnable_1.png|border]] |
| − | 3- | + | 3- Select an '''Additional Dictionary'''. |
| + | * Click '''Save'''. | ||
| − | [[Image:RadiusEnable_2. | + | [[Image:RadiusEnable_2.png|border]] |
| − | 4- Verify that the ''' | + | 4- Verify that the '''Radius client configuration was successfully updated''' message appears. |
| − | [[Image:RadiusEnable_3. | + | [[Image:RadiusEnable_3.png|border]] |
Latest revision as of 09:11, 1 June 2013
Applies to version(s): v2.7.
This page describes how to enable a custom RADIUS dictionary.
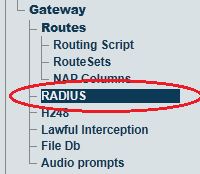
1- Select RADIUS from the navigation panel.
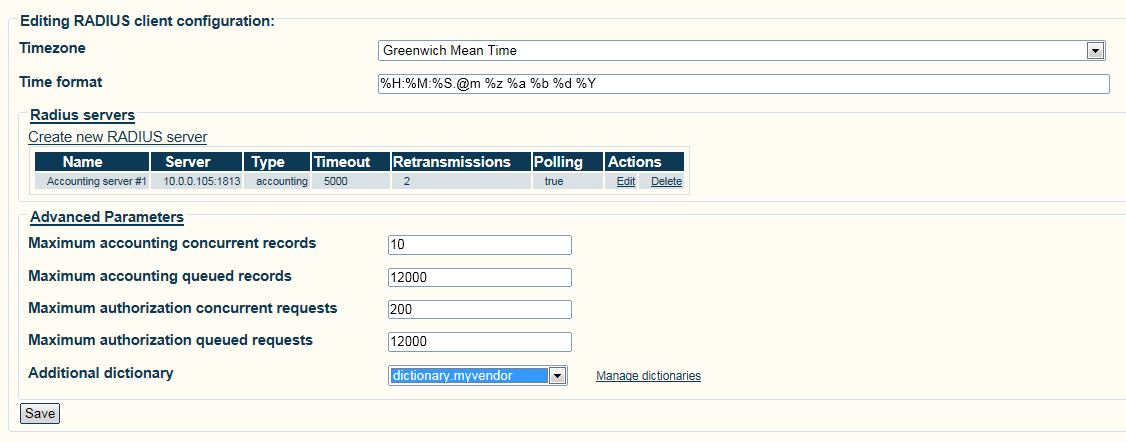
2- Click Advanced Parameters.
3- Select an Additional Dictionary.
- Click Save.
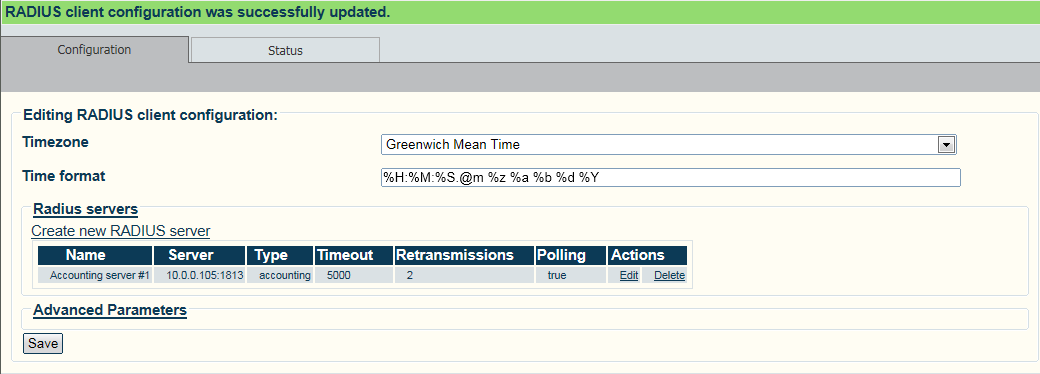
4- Verify that the Radius client configuration was successfully updated message appears.


