Toolpack:Creating the M2UA Configuration C
From TBwiki
(Difference between revisions)
(New 2.8 article) |
(Added m2ua node type) |
||
| (One intermediate revision by one user not shown) | |||
| Line 15: | Line 15: | ||
* Enter a '''name''' for the M2UA service | * Enter a '''name''' for the M2UA service | ||
| + | * Select a '''Node Type''' (SG, ASP, M2UA-MTP2 Relay) | ||
* Click '''Create''' | * Click '''Create''' | ||
| Line 22: | Line 23: | ||
[[Image:Create_M2ua_2.png]] | [[Image:Create_M2ua_2.png]] | ||
| − | |||
==List of Parameters== | ==List of Parameters== | ||
* [[Parameter: Name|Name]] | * [[Parameter: Name|Name]] | ||
| + | * [[Parameter: M2UA Node Type|M2UA Node Type]] | ||
Latest revision as of 09:57, 24 August 2015
Applies to version(s): v2.8.
To create your M2UA system, you must create a new M2UA configuration.
M2UA (Message Transfer Part 2 User Adaptation Layer) is used to interface the MTP2 Layer of a signaling gateway to the MTP3 Layer of a media gateway controller (MGC). M2UA can also be seen as a way to extend an MTP2 link. An M2UA link is always bound to an MTP2 link.
To create an M2UA configuration:
1- Click M2UA in the navigation panel
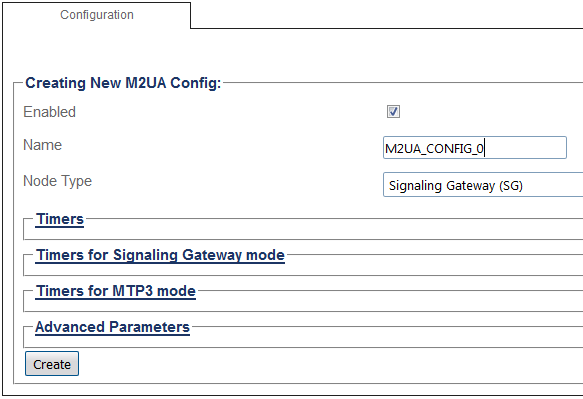
2- Create the M2UA configuration:
- Enter a name for the M2UA service
- Select a Node Type (SG, ASP, M2UA-MTP2 Relay)
- Click Create
3- Verify that the "M2ua Cfg was successfully created" message appears

