Toolpack:Creating a N+1 Group B
From TBwiki
(Difference between revisions)
(→Applies to version v2.8: Modified step 3 instruction) |
(Revised the text and provided a more realistic screen shoot.) |
||
| Line 19: | Line 19: | ||
3- Set the correct serial numbers for units that are assigned as Primary and Secondary N+1 Patch panels, as well as the N+1 Backup unit. | 3- Set the correct serial numbers for units that are assigned as Primary and Secondary N+1 Patch panels, as well as the N+1 Backup unit. | ||
| + | *Configure the following: | ||
| + | **Primary N+1 Patch Panel: N+1 patch panel for the main fiber | ||
| + | **Secondary N+1 Patch Panel: N+1 patch panel for the APS | ||
| + | **N+1 Backup Unit: Standby unit | ||
| + | **Auto switch-back: Select this option to automatically switch TDM and VoIP media back to the original unit when it becomes available. If this option is not selected, then the backkup unit will remain active until it is manually rebooted. | ||
| + | **Port 0 to 14: Units must be listed as they are physically connected to the N+1 patch panel. | ||
* Click '''Create''' | * Click '''Create''' | ||
| − | |||
[[Image:N_Plus_One_2_A.png]] | [[Image:N_Plus_One_2_A.png]] | ||
Revision as of 10:23, 24 November 2014
Applies to version v2.8
Once the N+1 patch panel is created, you must create an N+1 group to assign each hardware unit to their correct position.
To create an N+1 Patch Panel:
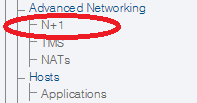
1- Click N+1 in the navigation panel
2- Click Create New N+1 Group
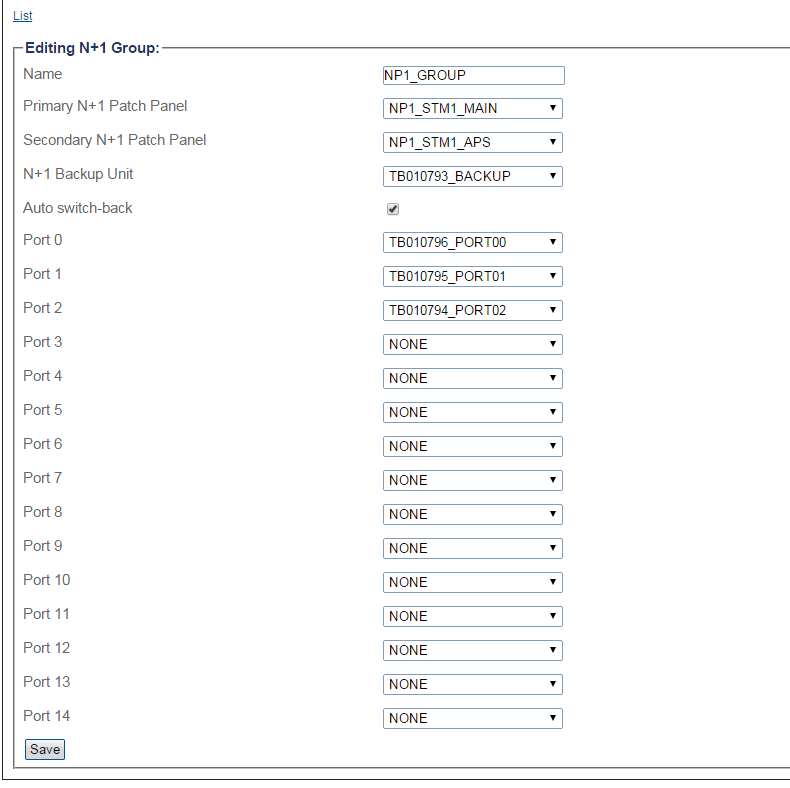
3- Set the correct serial numbers for units that are assigned as Primary and Secondary N+1 Patch panels, as well as the N+1 Backup unit.
- Configure the following:
- Primary N+1 Patch Panel: N+1 patch panel for the main fiber
- Secondary N+1 Patch Panel: N+1 patch panel for the APS
- N+1 Backup Unit: Standby unit
- Auto switch-back: Select this option to automatically switch TDM and VoIP media back to the original unit when it becomes available. If this option is not selected, then the backkup unit will remain active until it is manually rebooted.
- Port 0 to 14: Units must be listed as they are physically connected to the N+1 patch panel.
- Click Create
4- Verify that the newly added N+1 patch panel appears in the N+1 Groups list.


