Toolpack:Creating an ISUP Stack C
From TBwiki
(Difference between revisions)
(New 2.8 article: In process) |
|||
| Line 6: | Line 6: | ||
| − | 1- Click '''ISUP''' in the navigation | + | 1- Click '''ISUP''' in the navigation pane. |
[[Image:CreateIsupStack_0.png]] | [[Image:CreateIsupStack_0.png]] | ||
| + | |||
2- Click '''Create New Stack''' | 2- Click '''Create New Stack''' | ||
[[Image:CreateIsupStack_1.png]] | [[Image:CreateIsupStack_1.png]] | ||
| + | |||
3- Configure the new ISUP stack: | 3- Configure the new ISUP stack: | ||
| Line 23: | Line 25: | ||
[[Image:CreateIsupStack_2.png]] | [[Image:CreateIsupStack_2.png]] | ||
| + | |||
4- Verify that the '''"IsupStack was successfully created"''' message appears | 4- Verify that the '''"IsupStack was successfully created"''' message appears | ||
Revision as of 09:22, 17 September 2014
Applies to version(s): v2.8.
The ISDN user part (ISUP) is the highest layer in the SS7 signaling stack and is responsible for the handling of calls. Once you have configured the MTP3 layer of your SS7 system, you must create an ISDN user part stack.
To create an ISUP stack:
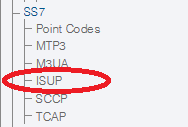
1- Click ISUP in the navigation pane.
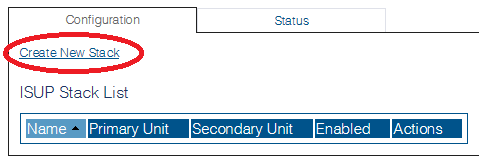
2- Click Create New Stack
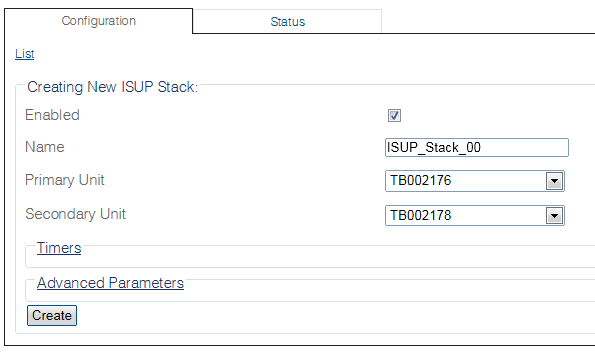
3- Configure the new ISUP stack:
- Make sure the box labeled Enabled is checked
- Enter a name for the stack
- Select a primary hardware adapter
- Select a secondary hardware adapter
- Click Create
4- Verify that the "IsupStack was successfully created" message appears


