TMG:Change Internal Subnets Procedure
| Line 1: | Line 1: | ||
| − | This | + | This procedure explains how to modify the internal subnets of a TMG800, TMG3200 or TMG7800 Unit. |
| + | |||
| + | ''This procedure is available in Toolpack release 2.8 and above.'' | ||
[[TMG:Change Internal Subnets|Click here for more information on internal subnets of TMG Units]] | [[TMG:Change Internal Subnets|Click here for more information on internal subnets of TMG Units]] | ||
Revision as of 10:33, 7 January 2015
This procedure explains how to modify the internal subnets of a TMG800, TMG3200 or TMG7800 Unit.
This procedure is available in Toolpack release 2.8 and above.
Click here for more information on internal subnets of TMG Units
Contents |
Resetting the Unit role
Note: If your Unit was just shipped, it does not yet has it's "role" configured, and you can skip this step.
Changing the internal IP addresses of a TMG requires to reset the Unit's role (Standlone/Primary/Secondary). Once the role is reset, the Web Portal will show steps to re-configure the Unit's Role, and at the same time select the internal Subnets to use.
To reset the Unit's role:
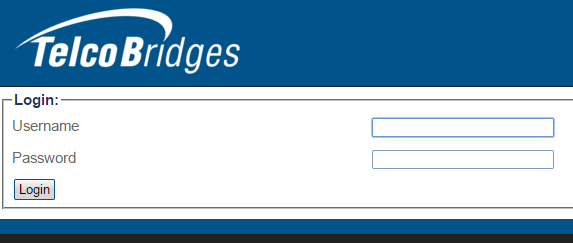
Log into the Unit's Web Portal
Click the "Status" tab
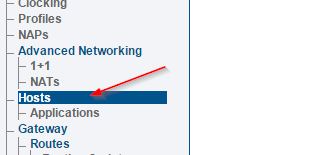
Click on the serial number of the Unit
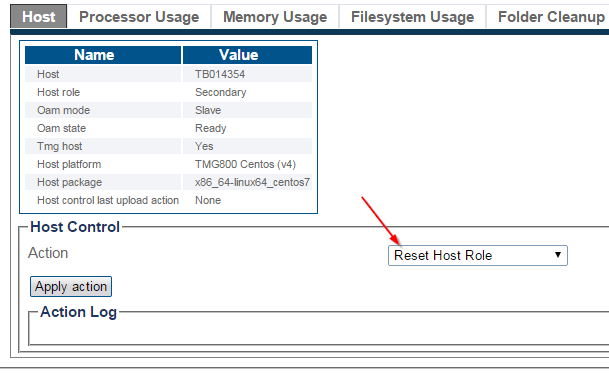
Select Action "Reset Host Role"
Click "Apply Action"
Refresh the web page until role selection appears
Configure the Unit's Role
Click "Continue", answer the questions
Change Unit's internal subnets
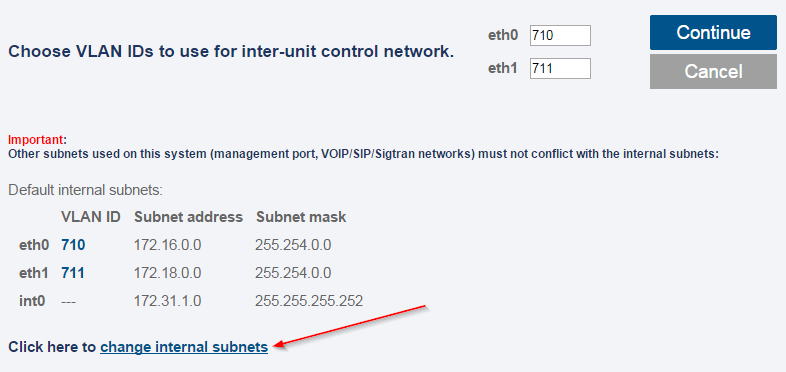
Click on "change internal subnets"
Change subnets as required, click "continue"

Note: You may not see some of the options in the above screenshot. Only options available for current product are shown on this page.
Click "continue" and "confirm"
Confirmation pages will appear, continue or confirm if you're satisfied with your choices.
Wait until configuration is completed
(This can take a few minutes...)
