Toolpack:Creating User Groups C
(→Applies to version v2.9) |
(→Applies to version v2.9) |
||
| Line 47: | Line 47: | ||
'''Path''' | '''Path''' | ||
<pre> | <pre> | ||
| + | /user_groups | ||
</pre> | </pre> | ||
Revision as of 10:23, 13 October 2015
Applies to version v2.9
One or more user groups can be created to define access rights, such as read only, read/write, or no access at all. Access rights can be assigned to all regions of the web portal or to specific areas.
To create a user group:
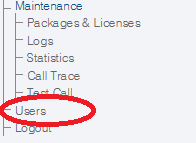
1- Click Users in the navigation panel.
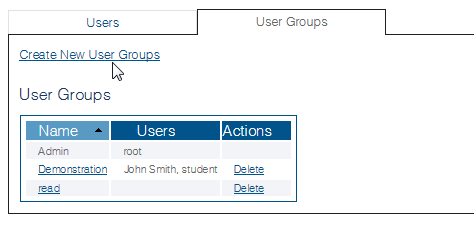
2- Select the User Groups tab and click Create New User Groups, to add a new user group.
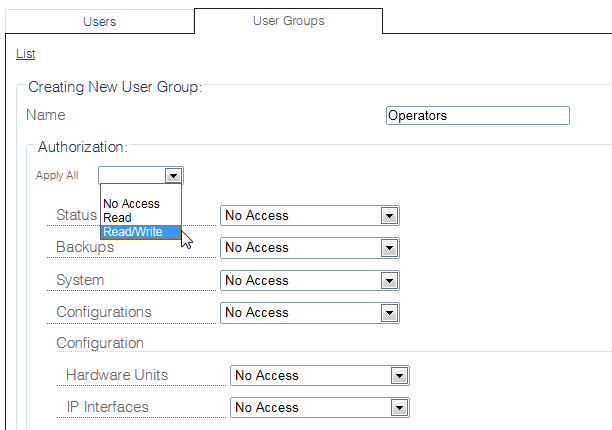
3- Assign a name to the user group in the Name field.
4- Configure the access for the user group by one of the following two methods:
4a- Select an Authorization type, from the Apply All field , such as:
- Read
- Read/Write
- No access
This will apply the authorization to all regions of the web portal.
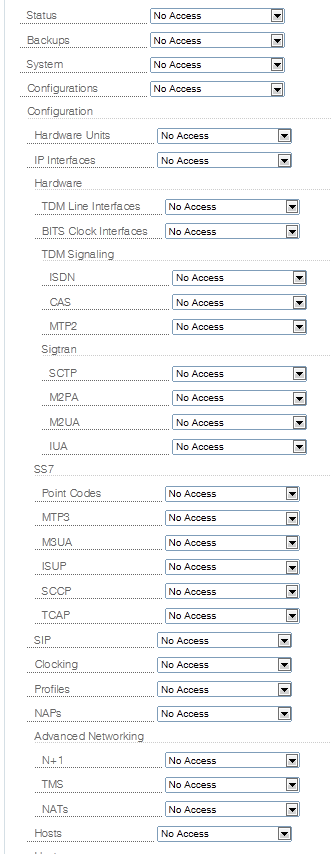
4b- Customize authorization and access individually by setting the authorization type in each web portal field.
5- Click Create.
Path
/user_groups
Parameters (text)
Parameters (json)
{

}


