Toolpack:Creating a SIP Stack SBC A
From TBwiki
(Difference between revisions)
(Added image of new SIP success) |
(fix collapse section) |
||
| Line 56: | Line 56: | ||
<br> | <br> | ||
| − | + | <div class="mw-collapsible mw-collapsed" data-collapsetext="Advanced" data-expandtext="Timers" style="width: 400px;"> | |
| + | {| class="wikitable" | ||
| + | |- | ||
* [[Parameter: Advanced Transport Servers configuration|Advanced Transport Servers configuration]] | * [[Parameter: Advanced Transport Servers configuration|Advanced Transport Servers configuration]] | ||
| − | + | |} | |
<br> | <br> | ||
Revision as of 14:36, 10 May 2017
Applies to version(s): v3.0
Session Initiation Protocol, more commonly known as SIP, is a signaling protocol for packet-based networks and is commonly used, along with H.323 to provide signaling for Voice over IP (VoIP) communications. You must configure SIP signaling for your system. The first step in doing so is to create a SIP stack:
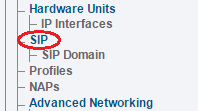
1- Click SIP in the navigation panel
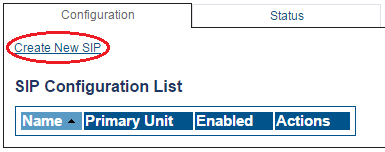
2- Click Create New Sip
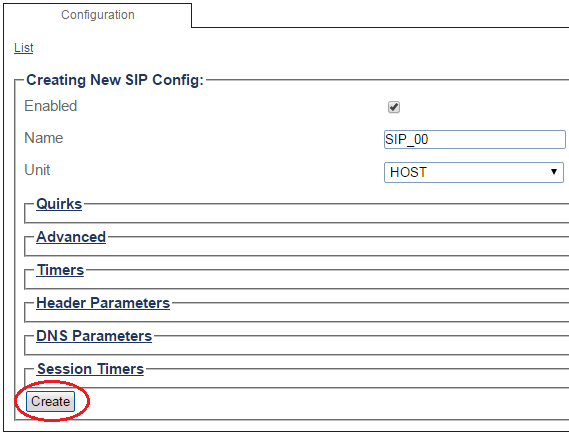
3- Create the new SIP stack:
- Verify that the box labeled Enabled is checked
- Enter a name for the stack
- Click Create
4- Verify that the "SipCfg was successfully created" message appears
List of Parameters


