Toolpack:Creating an ISUP Interface A
From TBwiki
(Difference between revisions)
| Line 1: | Line 1: | ||
| − | === '''''Applies to version(s): v2.5, v2.6.''''' === | + | === '''''Applies to version(s): v2.5, v2.6., v2.7''''' === |
{{DISPLAYTITLE:Creating an ISUP Interface}} | {{DISPLAYTITLE:Creating an ISUP Interface}} | ||
Now that you have created an [[ISUP]] user part to contain them, you must create new ISUP interfaces. | Now that you have created an [[ISUP]] user part to contain them, you must create new ISUP interfaces. | ||
Latest revision as of 09:31, 15 July 2013
Applies to version(s): v2.5, v2.6., v2.7
Now that you have created an ISUP user part to contain them, you must create new ISUP interfaces.
The ISUP interface creates a binding within the ISUP layer of a particular variant, a specific network, and an OPC/DPC pair to which circuits can be assigned.
The ISUP interface contains the circuit identifier codes (CICs) within the ISUP user part. One interface is created for each similar grouping of CICs within one user part protocol variant.
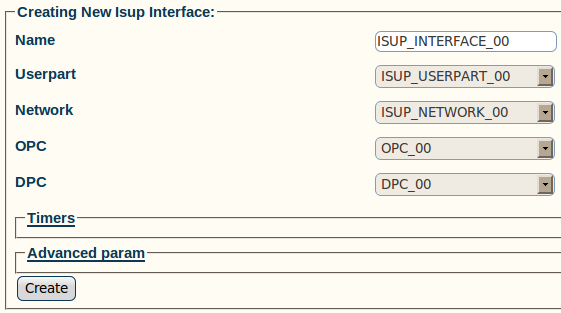
To create an ISUP interface:
1- Click Create New Isup Interface in the ISUP stack configuration window
2- Configure the new ISUP interface:
- Enter a name for the interface
- Select an ISUP user part
- Select an ISUP network
- Select a trunk type
- Select an originating point code (OPC)
- Select a destination point code (DPC)
- Click Create
3- Verify that the "IsupInterface was successfully created" message appears

