Toolpack:Adding an Adapter D
(Add images) |
(→Applies to version v2.8) |
||
| Line 46: | Line 46: | ||
| − | [[Image: | + | [[Image:Hardware_4_A.png]] |
==List of Parameters== | ==List of Parameters== | ||
Revision as of 11:02, 6 August 2014
Applies to version v2.8
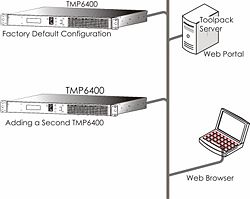
When you receive a new system, at least one hardware configuration will be done in the Toolpack application server, by default. To add other hardware devices, you must use the Tmedia Web Portal.
To add one or more additional hardware devices to the Toolpack system configuration, their serial numbers must be registered with the Toolpack application server.
To add a hardware device:
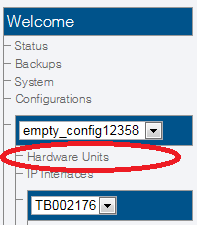
1- Click Hardware Units in the navigation panel
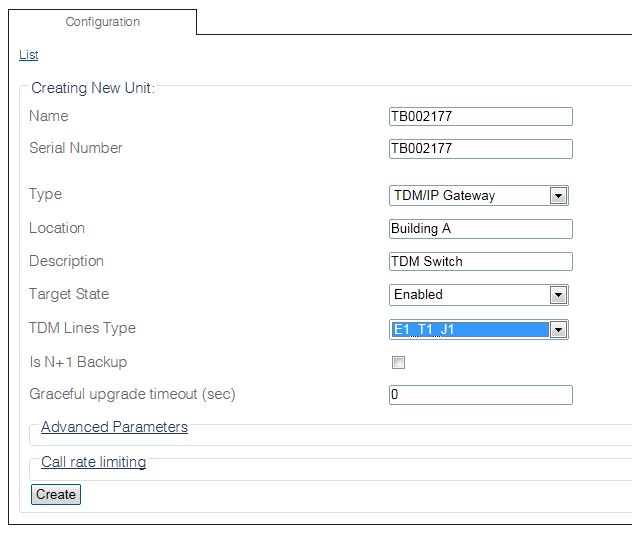
2- Click Create New Units, to add a new hardware device
3- Enter a name for the hardware device
- Enter the serial number of the new hardware device (filling in the Serial Number field will cause auto-completion of the field to occur).
- Select the appropriate hardware device from the Type field. (In this case select TMP)
- Select the type of TDM lines that the hardware device will support.
- Indicate if the device will operate as a backup in an N+1 configuration. If this is the first device being added, leave this field clear.
- Provide the amount of time is seconds, that the system will wait for calls to complete before shutting down for an upgrade.
- Enter the location in which the hardware device is installed.
- Enter a meaningful description as to the usage or purpose of the hardware device.
- Select Enabled from the Target State field.
- Click Create
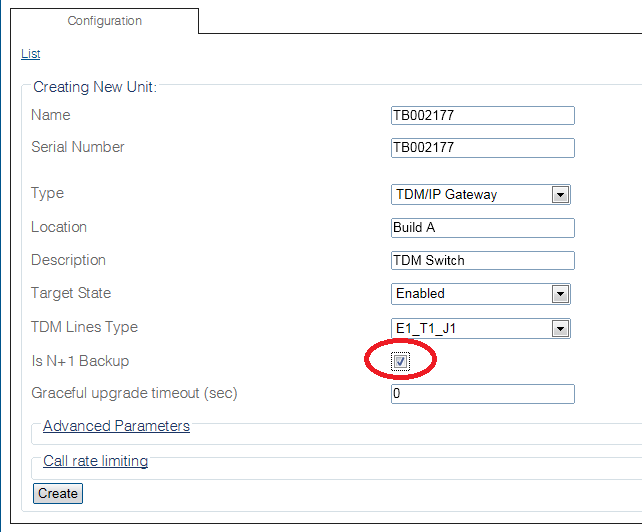
NOTE The following image shows the N+1 Backup field set. This is done for the addition of a secondary device that will operate as the designated 1+1 backup in a 1+1 Group.
4- Verify that the "Adapter was successfully created" message appears, and that the newly added hardware device appears in the Hardware List below


