Toolpack:Creating MTP2 Links B
From TBwiki
(Difference between revisions)
| Line 9: | Line 9: | ||
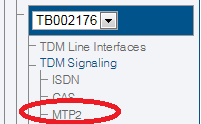
[[Image:Mtp2_0_A.png]] | [[Image:Mtp2_0_A.png]] | ||
| + | |||
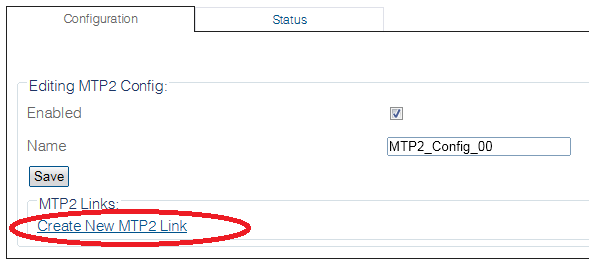
2- Click '''Create New Mtp2 Link''' in the MTP2 configuration window | 2- Click '''Create New Mtp2 Link''' in the MTP2 configuration window | ||
[[Image:Create_MTP2_Link_0.png]] | [[Image:Create_MTP2_Link_0.png]] | ||
| + | |||
3- Configure the new MTP2 link: | 3- Configure the new MTP2 link: | ||
| Line 26: | Line 28: | ||
[[Image:Create_MTP2_Link_1.png]] | [[Image:Create_MTP2_Link_1.png]] | ||
| + | |||
4- Verify that the '''"MTP2 link was successfully created"''' message appears | 4- Verify that the '''"MTP2 link was successfully created"''' message appears | ||
Revision as of 08:31, 9 September 2014
Applies to version(s): v2.8
Once you have created an MTP2 configuration, you must create the necessary MTP2 links. An MTP2 link is used to connect the MTP2 physical layer to a line service carrying SS7 signaling.
To create an MTP2 link:
1- Click MTP2 in the Navigation panel.
2- Click Create New Mtp2 Link in the MTP2 configuration window
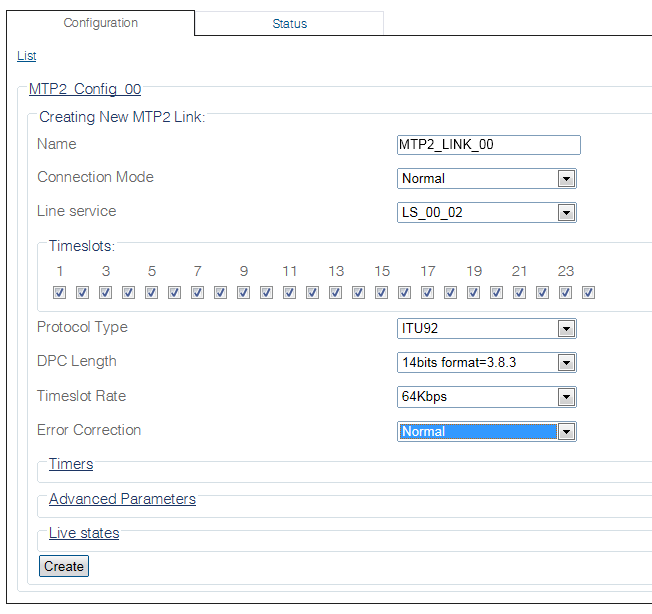
3- Configure the new MTP2 link:
- Enter a name for the new link
- Select a connection mode
- Select a line service
- Assign timeslots to the link
- Select a protocol type
- Select a DPC length
- Select a timeslot rate
- Click Create
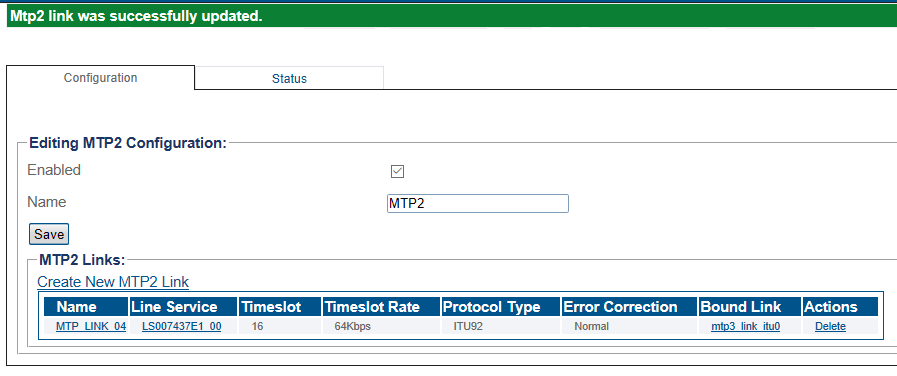
4- Verify that the "MTP2 link was successfully created" message appears


