Toolpack:Creating an M3UA User Part (IPSP) B
From TBwiki
(Difference between revisions)
(→Applies to version(s): v2.8) |
m (→Applies to version(s): v2.8) |
||
| Line 31: | Line 31: | ||
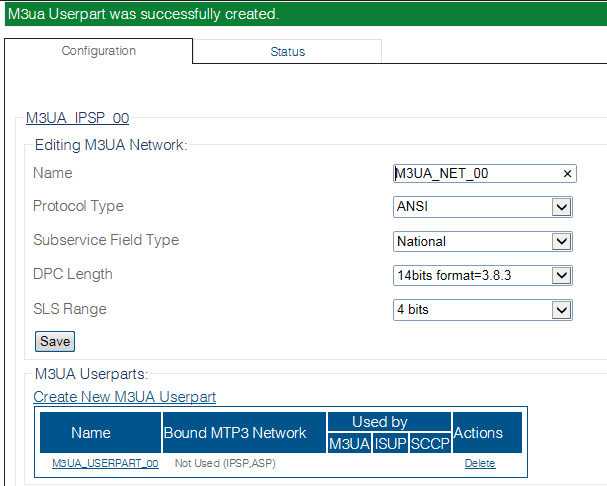
4- Verify that the '''"M3ua Userpart was successfully created"''' message appears | 4- Verify that the '''"M3ua Userpart was successfully created"''' message appears | ||
| − | [[Create_M3UA_Userpart_2.png]] | + | [[Image:Create_M3UA_Userpart_2.png]] |
==List of Parameters== | ==List of Parameters== | ||
* [[Parameter: Name|Name]] | * [[Parameter: Name|Name]] | ||
Revision as of 12:30, 22 September 2014
Applies to version(s): v2.8
Now that you have created an M3UA network, you must create a new M3UA user part.
To create an M3UA user part:
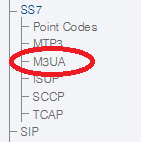
1- Click M3UA in the navigation panel:
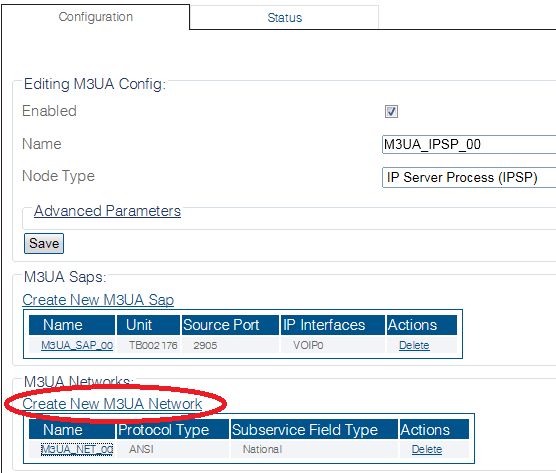
2- Select an M3ua Network:
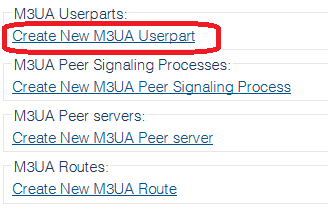
3- Click Create New M3ua Userpart in the M3UA network configuration window
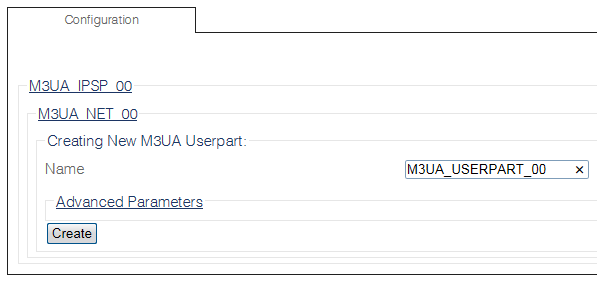
3- Configure the new M3UA user part:
- Enter a name for the user part
- Click Create
4- Verify that the "M3ua Userpart was successfully created" message appears
