Configure Fax T38 D
From TBwiki
(Difference between revisions)
(→Applies to version(s): v2.8) |
(new 2.8 artcile) |
||
| Line 17: | Line 17: | ||
* Click '''Fax/Modem Relay''' to expand the view. | * Click '''Fax/Modem Relay''' to expand the view. | ||
| − | [[Image: | + | [[Image:ConfigureFaxT38_0.png]] |
| Line 25: | Line 25: | ||
* Set '''Relay Mode''' to T.38. | * Set '''Relay Mode''' to T.38. | ||
* Uncheck the '''Use V.34''' option. (For reliability reason, some faxes failed to failback to V17 | * Uncheck the '''Use V.34''' option. (For reliability reason, some faxes failed to failback to V17 | ||
| − | [[Image: | + | |
| + | [[Image:ConfigureFaxT38_1.png]] | ||
| + | |||
| + | |||
| + | 5. Verify thet the '''Profile was successfully created''' message is displayed. | ||
| + | |||
| + | [[Image:ConfigureFaxT38_2.png]] | ||
Latest revision as of 11:04, 7 October 2014
Applies to version(s): v2.8
To enable T.38:
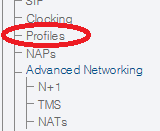
1. Select Profiles from the navigation menu.
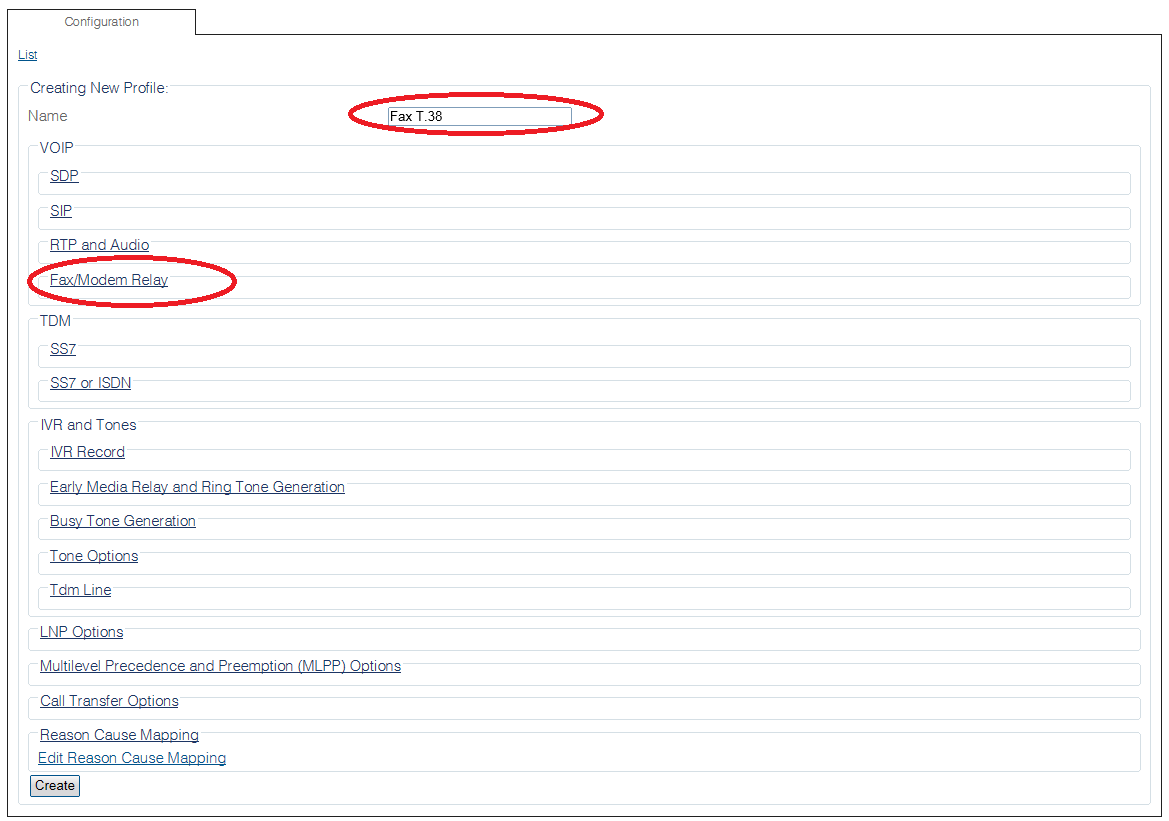
2. Click Create New Profile
3. Enter a name for the Fax Profile.
- Click Fax/Modem Relay to expand the view.
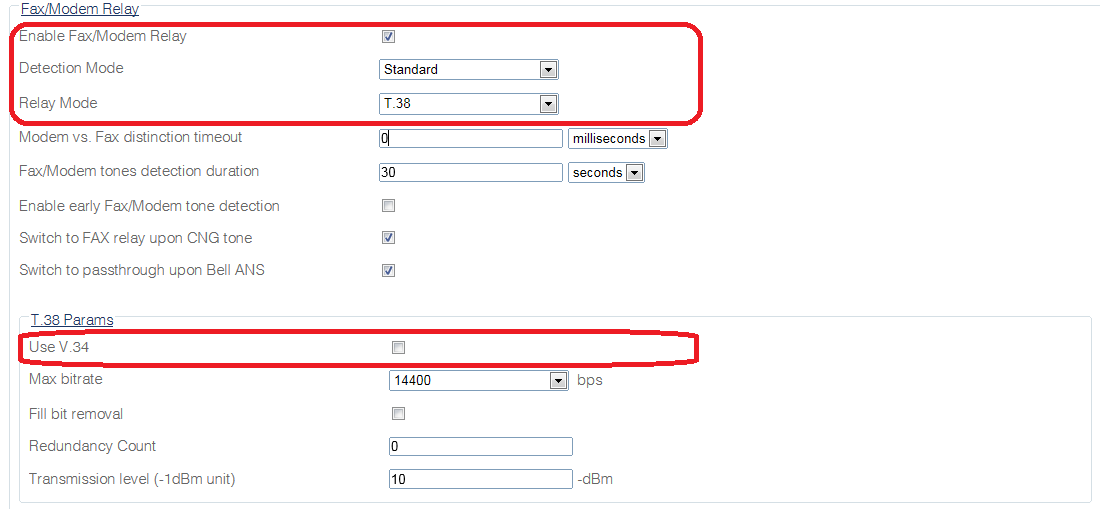
4. Configure the settings:
- Set Enable Fax/Modem Relay to enabled.
- Set Detection Mode to Standard.
- Set Relay Mode to T.38.
- Uncheck the Use V.34 option. (For reliability reason, some faxes failed to failback to V17
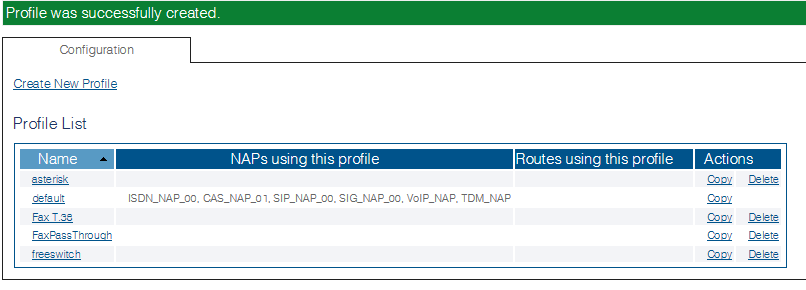
5. Verify thet the Profile was successfully created message is displayed.


