Toolpack:Activating the Configuration C
(Remove unnecessary step) |
(→Applies to version(s): v2.8.: revised image Toolpack_Editing_System_B and removed location of checkbox from text) |
||
| Line 8: | Line 8: | ||
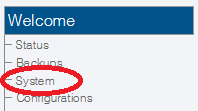
1. Select '''System''' from the navigation panel. | 1. Select '''System''' from the navigation panel. | ||
| − | |||
[[Image:Systems_Navigation_Panel_B.png]] | [[Image:Systems_Navigation_Panel_B.png]] | ||
| Line 16: | Line 15: | ||
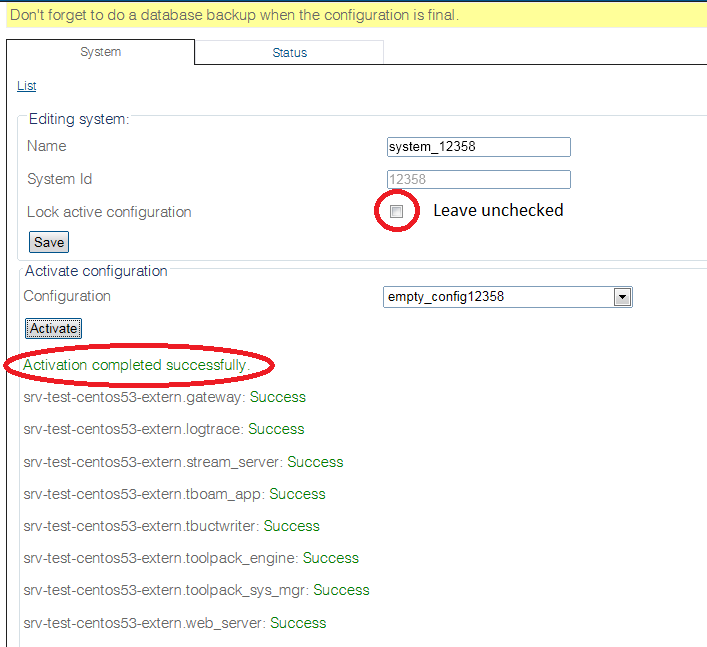
2. To activate the configuration, click '''Activate''' | 2. To activate the configuration, click '''Activate''' | ||
| − | '''Note:''' Make certain that the '''Lock | + | '''Note:''' Make certain that the '''Lock active configuration''' box is ''''unchecked'''. Failure to do so will prevent the configuration from being saved. |
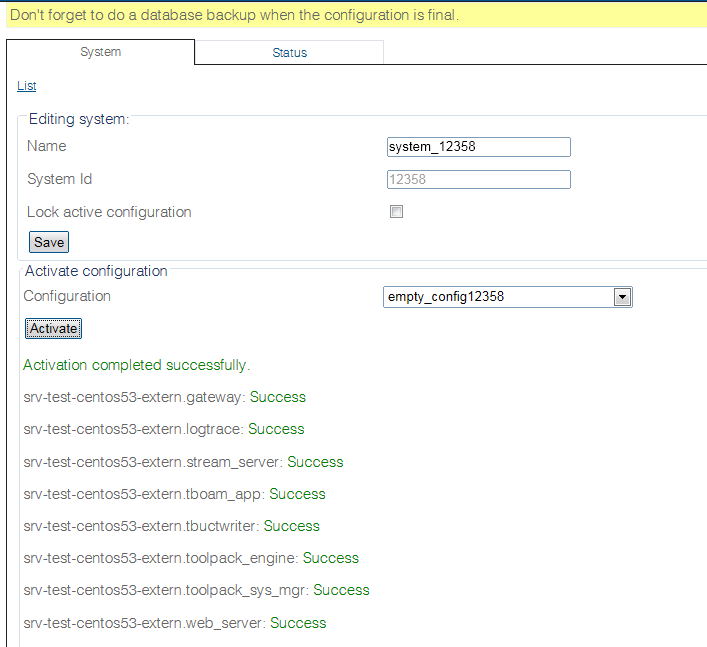
[[Image:Toolpack_Editing_System_B.png]] | [[Image:Toolpack_Editing_System_B.png]] | ||
Revision as of 12:59, 28 May 2015
Applies to version(s): v2.8.
Changes made to the configuration of the Tmedia or Tdev units are stored in the OAM&P Configuration and Logging database. In order for changes to be used by the system, they must first be activated. This is done at the system level and accessed from the Navigation panel.
Note: To activate a configuration, you must be the Root user or have a user access level of 0.
To activate a system configuration:
1. Select System from the navigation panel.
2. To activate the configuration, click Activate
Note: Make certain that the Lock active configuration box is 'unchecked. Failure to do so will prevent the configuration from being saved.
3. Verify that an activation confirmation message is displayed. The system will remind you to back up your database when you are done configuring (at top of screen):


