Toolpack:Creating an SNMPv1/SNMPv2 Community C
From TBwiki
(Difference between revisions)
Allyntree (Talk | contribs)
(Created page with "=== '''''Applies to version(s): v2.9.''''' === {{DISPLAYTITLE:Creating an SNMPv1/SNMPv2 Community}} New '''communities''' can be created for SNMP versions 1 or 2, By default,...")
Newer edit →
(Created page with "=== '''''Applies to version(s): v2.9.''''' === {{DISPLAYTITLE:Creating an SNMPv1/SNMPv2 Community}} New '''communities''' can be created for SNMP versions 1 or 2, By default,...")
Newer edit →
Revision as of 14:39, 16 October 2015
Applies to version(s): v2.9.
New communities can be created for SNMP versions 1 or 2, By default, the standard communities public (read-only access), and private (read-write access) have been created.
To create a new SNMPv1/SNMPv2 community, do the following:
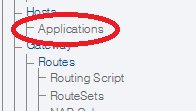
- Click Applications in the navigation panel.
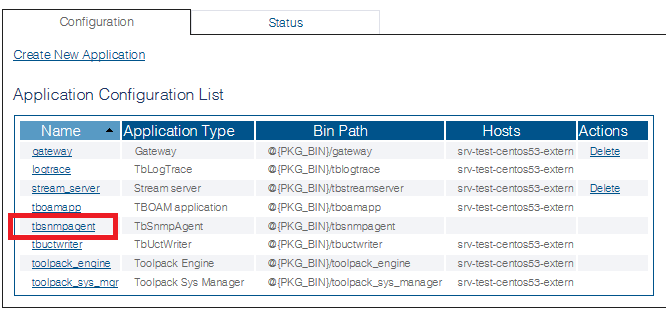
- In the Application Configuration List, select tbsnmpagent.
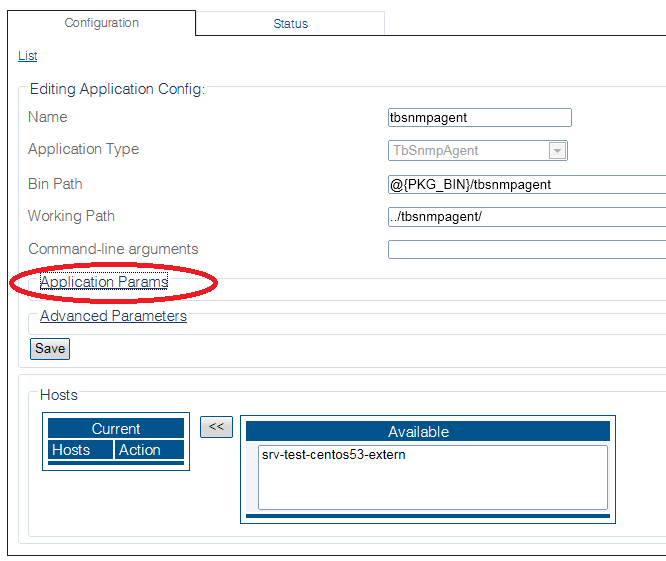
- Click Application Params
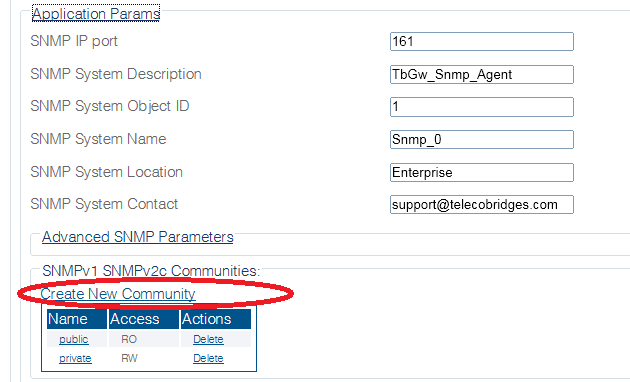
- Click Create new community )
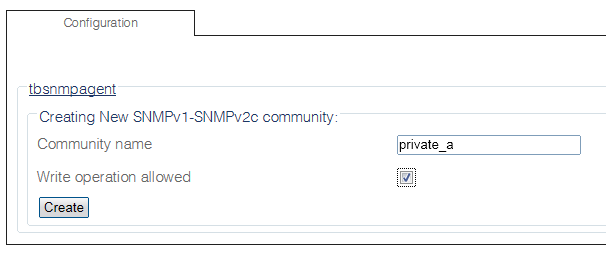
- In the community creation window:
- Enter a unique name for the community
- Select or clear the Write operation allowed check box to allow or disallow a write privilege for the current community
- Click Create
- Verify that the SNMP community was successfully created message is displayed and that the new community in SNMPv1 SNMPv2 Communities list.
Path
Parameters (text)
Parameters (json)
List of Parameters
