Toolpack:Creating a SIP Transport Server D
From TBwiki
(Difference between revisions)
m |
(→Applies to version(s): v2.9, v2.10, v3.0) |
||
| Line 30: | Line 30: | ||
* Click '''Create''' | * Click '''Create''' | ||
| − | [[Image: | + | [[Image:SipTransport_2a.png]] |
Revision as of 11:45, 21 November 2017
Applies to version(s): v2.9, v2.10, v3.0
After you create a SIP stack, you must must create a new SIP transport server for your SIP configuration.
Note: In order to employ SIP transport servers, the protocol that they will use to transport the SIP signaling traffic must be defined.
To do so:
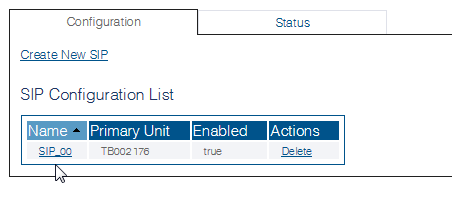
1- Click SIP in the navigation panel
2- Select a SIP stack for which you wish to create a transport server
3- Click Create New Transport Server
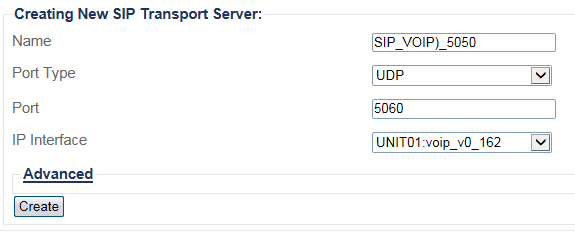
4- Create the new SIP transport server:
- Enter a name for the server
- Select an appropriate port type
- Select an appropriate IP interface
- Click Create
5- Verify that the "SIP transport server was successfully created" message appears, and that the new server is listed in the Transport Servers list
Path
Parameters (text)
/configurations/@[configuration_name]/sip_stacks/@[sipStack_Name]/transport_servers/@[sipTransportServer_name]
ip_header_tos = 0
ip_interface  = "@[hardware_name].@[voip_Name]"
name          = "@[sipStack_Name]"
port          = 5060
port_type     = "UDP"
Parameters (json)
{
  "ip_header_tos" : 0,
  "ip_interface" : "@[hardware_name].@[voip_Name]",
  "name" : "@[sipStack_Name]",
  "port" : 5060,
  "port_type" : "UDP"
}


