ProSBC:Sippy SIP Trunk Configuration:Avaya IPOffice Trunk
(Created page with "{{DISPLAYTITLE:Avaya IP Office Trunk Creation}} =Introduction= This document provides instructions on how to add a SIP Trunk to Avaya IP Office to work with the ProSBC. P...") |
|||
| Line 43: | Line 43: | ||
[[Image:avaya_codec_settings.png|500px]] | [[Image:avaya_codec_settings.png|500px]] | ||
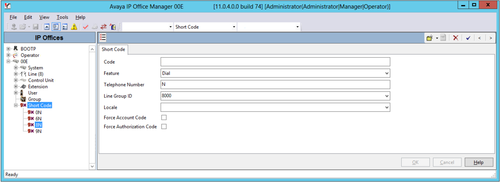
| − | 9. '''Short Code'' Section you can configure which codes will passthrough through ProSBC. | + | 9. '''Short Code''' Section you can configure which codes will passthrough through ProSBC. |
[[Image:avaya_shortcode_settings.png|500px]] | [[Image:avaya_shortcode_settings.png|500px]] | ||
Latest revision as of 04:02, 11 March 2021
Introduction
This document provides instructions on how to add a SIP Trunk to Avaya IP Office to work with the ProSBC. Please visit the following link for more details Avaya Support.
Avaya IP Office SIP Trunk Configuration
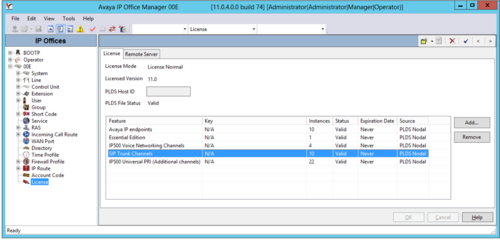
1. First, please ensure that the Avaya IP Office SIP Trunk Channels license key is available to allow SIP trunking.
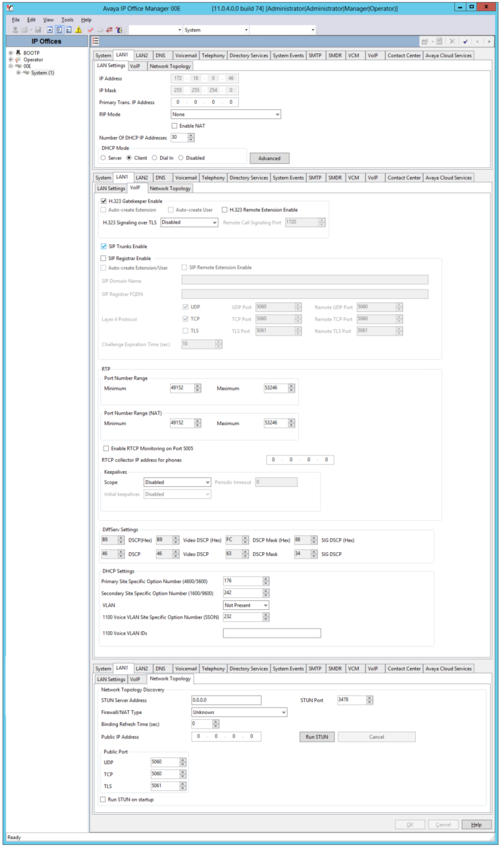
2. The Avaya IP Office LAN settings in this example are shown below. The IP address in the one that was set for the ProSBC NAP as shown in the LAN Settings -> IP Address. Ensure that SIP Trunks Enable option is set to allow SIP trunking. Ensure that Firewall/NAT Type configurations are set to your local requirements.
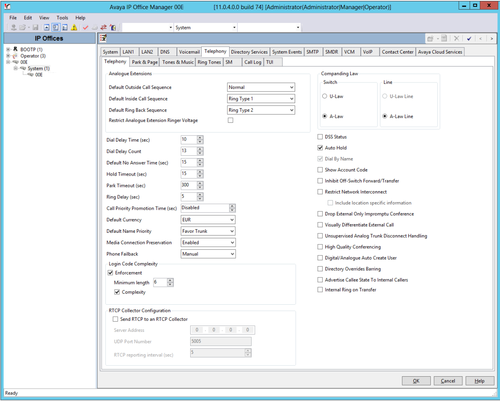
3. The Telephony settings are öostly use defaults. The Inhibit Off-Switch Forward/Transfer must be disabled to allow call forwarding or call transferring towards the SIP Trunk of the Avaya IP Office.
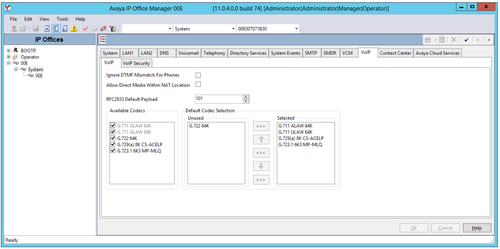
4. Please ensure that at minimum the G.711 codecs are set and the RFC2833 Default payload value conforms to the one set in the ProSBC Profile
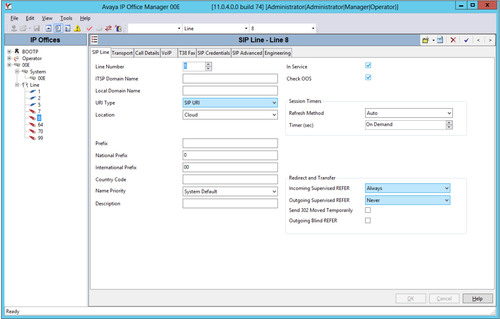
5. The ProSBC related SIP Line here is used as follows
- The ITSP Domain Name is left blank as this allows using the provided ITSP Proxy Address field value that will be set in the Transport tab.
- In Service must be selected for enabling the SIP Line.
- Check OOS is also set for enabling SIP Options as a keep alive.
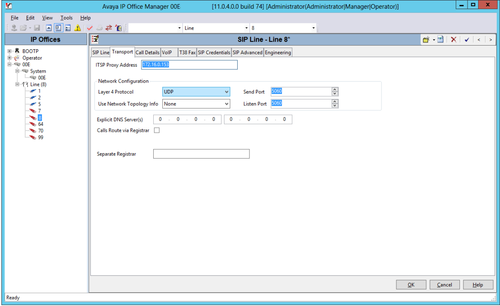
6. The ITSP Proxy Address is set to the ProSBC IP address. You can change the Network Configuration values or leave as their defaults.
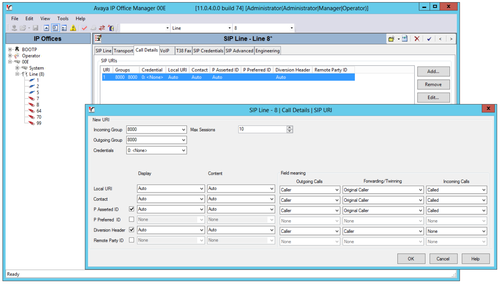
7. The 'Call Details of the ProSBC related SIP line are used as shown below
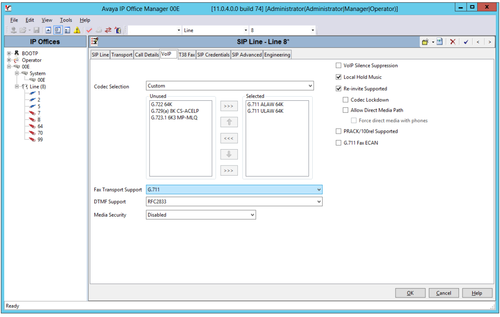
8. The Codec Selection is used with a Custom codec selection.In our example, we used G.711 codec. You can select other codecs too. But you need to be sure the ITSP must support other codecs too. Otherwise, you will need to use a transcoding device. You can select Re-Invite Supported and other parameters too
9. Short Code Section you can configure which codes will passthrough through ProSBC.
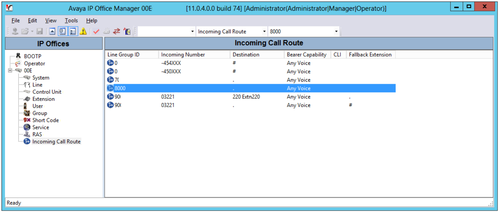
10. The Incoming Call Route entry for the ProSBC is shown next. The dot symbol for the Destination value matches the Incoming Number field. In this example this field is blank, so any destination value will match.
