Toolpack v2.3:Creating a Transport Server
From TBwiki
(Difference between revisions)
(→To create a transport server) |
(→To create a transport server) |
||
| Line 48: | Line 48: | ||
| − | [[Image: | + | [[Image:Web_Portal_v2.3_Creating_New_Transport_Server_2.png|700px]] |
| Line 54: | Line 54: | ||
| − | [[Image: | + | [[Image:Web_Portal_v2.3_Sip_Created_2.png|700px]] |
Revision as of 14:32, 25 October 2009
Note: In order to employ SIP transport servers, the protocol that they will use to transport the SIP signaling traffic must be defined.
To create a transport server
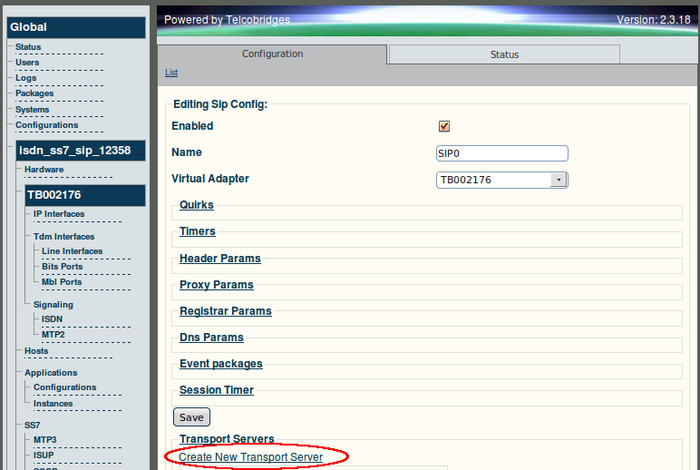
1. Select SIP from the navigation panel.
2. Select a SIP configuration and click 'Edit'.
3. Click 'Create New Transport Server' from the SIP Configuration window.
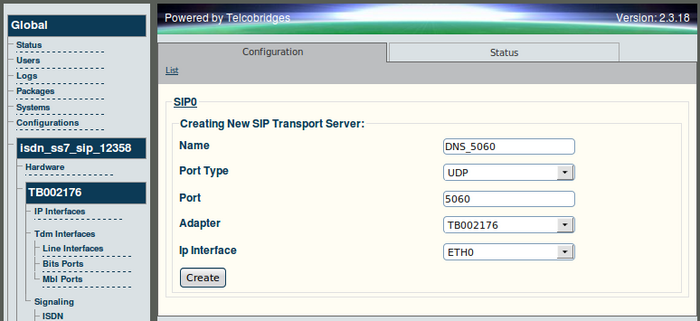
4. Enter a name for the transport server.
- Select a port type and number. This example uses UDP, port 53 for SIP traffic to the DNS server.
- Click 'Create' to save changes.
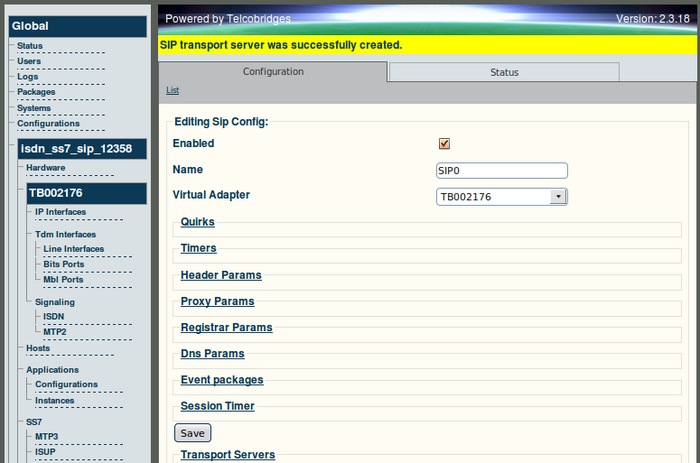
5. Verify that the new transport server is listed in the Transport Servers list.
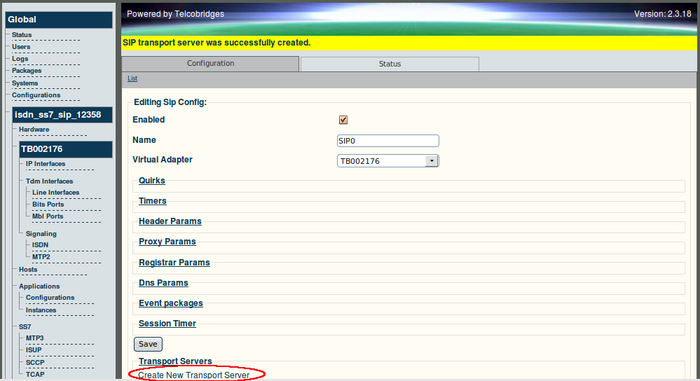
6. Click 'Create New Transport Server' to create a second transport server.
7. Create an additional transport server.
- Enter a name for the transport server
- Enter a port type and port number. In this case, select 5060 as the default SIP port.
- Click 'Create' to save the configuration changes.
8. Verify that the new SIP transport server appears in the Transport Servers list.


