Toolpack v2.3:Creating a NAP
(→To create a Network Access Point) |
(→To create a Network Access Point) |
||
| Line 53: | Line 53: | ||
| − | [[Image: | + | [[Image:Web_Portal_v2.3_Creating_NAP_2.png|700px]] |
| Line 59: | Line 59: | ||
| − | [[Image: | + | [[Image:Web_Portal_v2.3_Creating_NAP_3.png|700px]] |
| Line 65: | Line 65: | ||
| − | [[Image: | + | [[Image:Web_Portal_v2.3_NAP_Created_2.png|700px]] |
== Verifying Status == | == Verifying Status == | ||
To verify the status of the NAP configuration, either select Status from the Navigation panel or select the Status tab in the Information panel. | To verify the status of the NAP configuration, either select Status from the Navigation panel or select the Status tab in the Information panel. | ||
Revision as of 14:34, 31 October 2009
The Network Access Point (NAP) allows for SAPs, ISDN stacks, and SS7 ISUP interfaces to be associated as a combined resource for one type of access. A NAP is used to represent a collection of voice endpoints, for example: a group of SS7 CICs, ISDN controlled timeslots, SIP outgoing proxy to a specific provider, and more. (SAPs are, later in the configuration process, used to define how calls are routed out of the Tmedia system.)
In the example that follows, a Network Access Point is set for an ISP and another NAP is set for circuit-switched voice.
To create a Network Access Point
1. Select 'NAP' from the navigation panel.
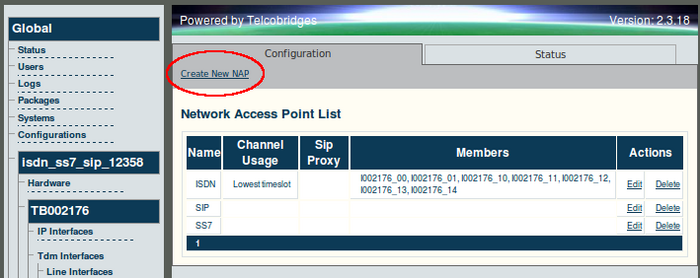
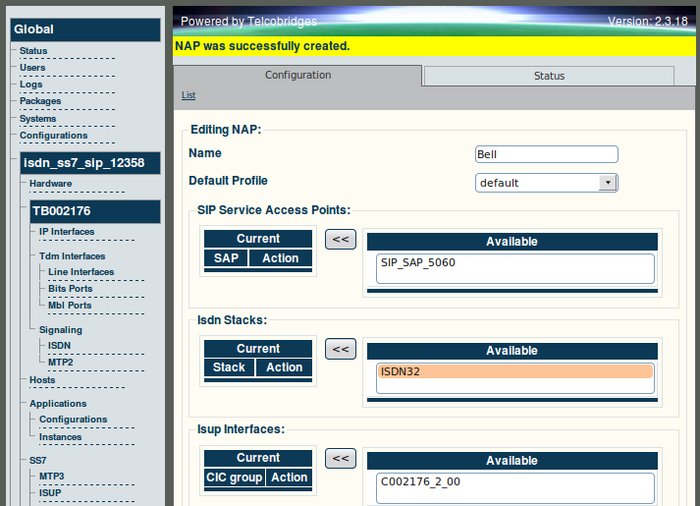
2. Click 'Create New NAP' to access the NAP configuration window.
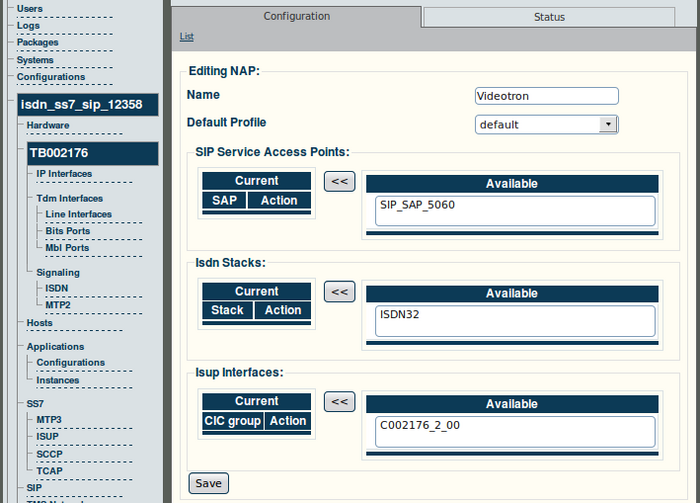
3. Provide a name for the NAP.
- Click 'Create' to initialize the NAP.
4. Verify that the 'NAP was successfully created' message appears.
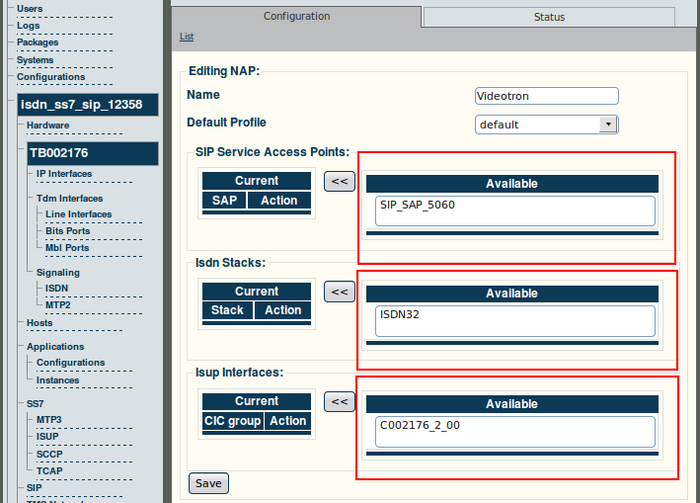
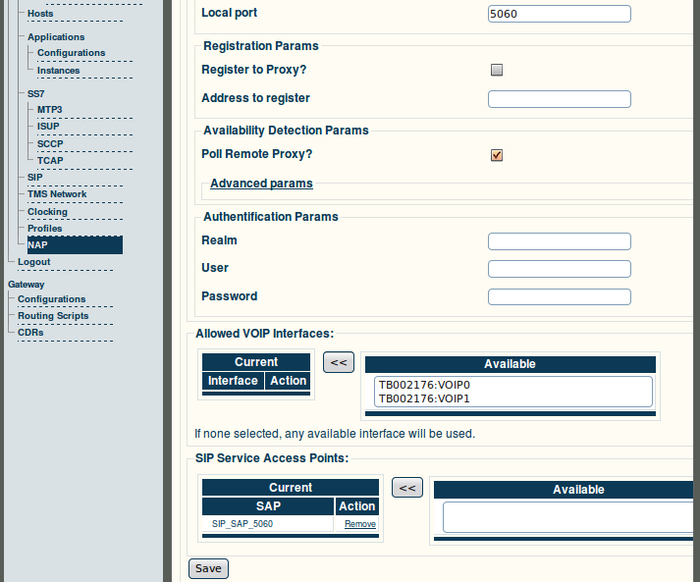
5. Use the << button to associate either a SAP, ISDN stack, or ISUP interface with the NAP.
6. Click 'Save' to store the changes.
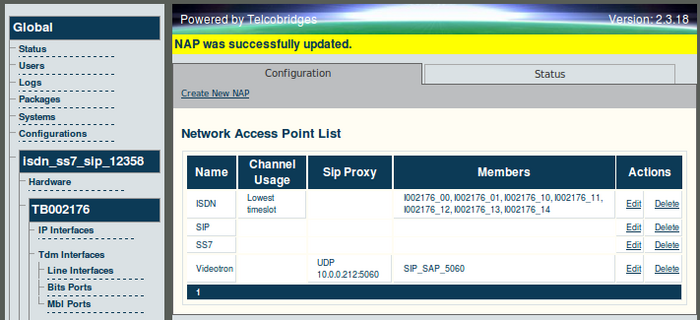
7. Verify that the newly created NAP is listed in the NAP list.
- Click 'Create New NAP' to add an additional NAP to the NAP list
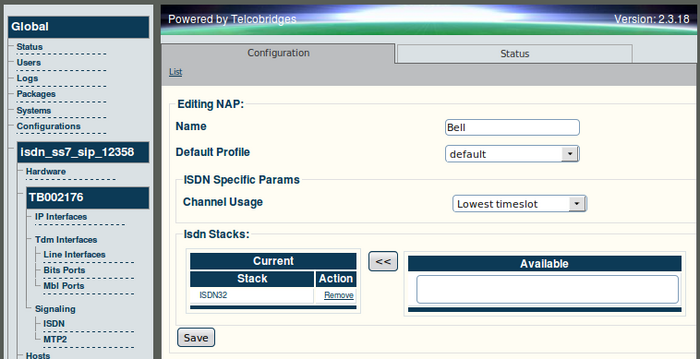
8. Enter name for the new NAP.
- Use the << button to associate either a SAP, ISDN stack, or ISUP interface with the NAP. In this example, an ISDN signaling stack is selected for a circuit-switched service.
9. Click 'Save' to store the settings.
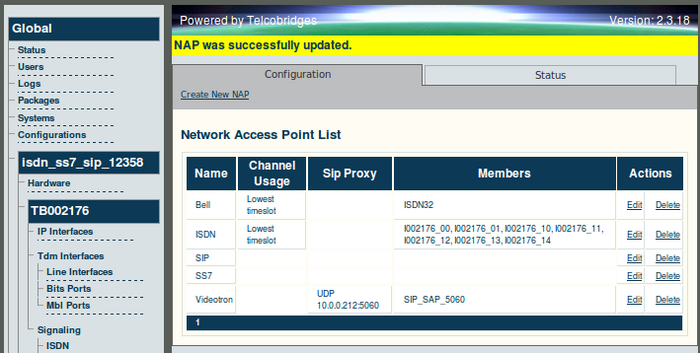
10. Verify that the newly created NAPs appear in the NAP listing
Verifying Status
To verify the status of the NAP configuration, either select Status from the Navigation panel or select the Status tab in the Information panel.

