Toolpack:Creating a SIP Transport Server A
From TBwiki
(Difference between revisions)
| Line 30: | Line 30: | ||
5- Verify that the '''SIP transport server was successfully created''' message appears, and that the new server is listed in the '''Transport Servers''' list | 5- Verify that the '''SIP transport server was successfully created''' message appears, and that the new server is listed in the '''Transport Servers''' list | ||
| − | [[Image:Toolpack_v2.5_SIP_Server_Created.png| | + | [[Image:Toolpack_v2.5_SIP_Server_Created.png|left|frame|Confirmation message.]] |
| − | [[Image:Toolpack_v2.5_SIP_Server_Created_2.png| | + | [[Image:Toolpack_v2.5_SIP_Server_Created_2.png|left|frame|Server appears in list.]] |
Revision as of 13:27, 28 June 2010
Now that you have created a SIP stack, you must must create a new SIP transport server for your configuration. To do so:
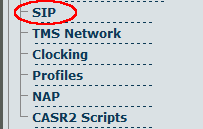
1- Click SIP in the navigation panel
2- Click Edit next to the SIP stack for which you wish to create a transport server
3- Click Create New Transport Server under the Transport Servers list
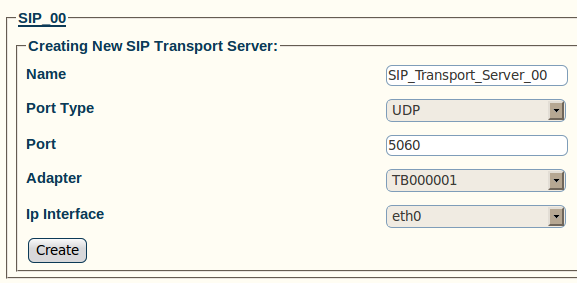
4- Create the new SIP transport server:
- Enter a name for the server
- Select an appropriate port type
- Select a hardware adapter
- Select an appropriate IP interface
- Click Create
5- Verify that the SIP transport server was successfully created message appears, and that the new server is listed in the Transport Servers list


