TbSnmpAgent Configuration
From TBwiki
(Difference between revisions)
| Line 24: | Line 24: | ||
<br/><br/> | <br/><br/> | ||
*Return to the '''Applications''' information window. '''tbsnmpagent''' should now appear in the '''Ready list'''. | *Return to the '''Applications''' information window. '''tbsnmpagent''' should now appear in the '''Ready list'''. | ||
| − | [[File: | + | [[File:Snmp_tbSnmpAgent_active.gif]] |
<br/><br/> | <br/><br/> | ||
*'''The tbSnmpAgent application has now been activated'''. | *'''The tbSnmpAgent application has now been activated'''. | ||
<br/><br/> | <br/><br/> | ||
==2- Configuring tbSnmpAgent== | ==2- Configuring tbSnmpAgent== | ||
Revision as of 08:13, 17 June 2011
The tbSnmpAgent is a software application that interfaces between the Tmedia system hardware and the NetSnmp implementation of the Simple Network Management Protocol (Snmp) that is supported by TelcoBridges.
By default, tbSnmpAgent is disabled. In order to use the Snmp protocol to monitor and manage your hardware, the following steps must be taken:
- tbSnmpAgent must be activated
- tbSnmpAgent must be configured to suit your needs
These tasks can be accomplished through the Web Portal.
1- Activating tbSnmpAgent
Once you are logged into the Web Portal, follow these steps to activate the tbSnmpAgent application:
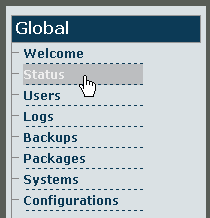
- Click the Status tab in the navigation panel.
- In the status information window, click the Applications tab.
- In the Applications information window, tbsnmpagent should appear in the Not running list. Click tbsnmpagent.
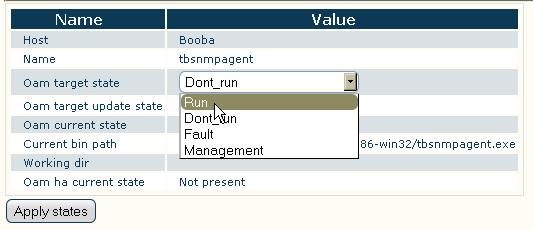
- In the Application instance status window for tbSnmpAgent, click the Oam target state dropdown box and select Run. Click Apply states.
- Return to the Applications information window. tbsnmpagent should now appear in the Ready list.
- The tbSnmpAgent application has now been activated.


