Creating a CAS R2 NAP
From TBwiki
Applies to version(s): v2.5, v2.6.
Now that you have created a CAS R2 stack, you must create a network access point, in order to finish configuring your system. A Network Access Point (NAP) represents the entry point to another network or destination peer.
To create a network access point (NAP):
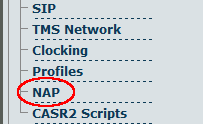
1- Click NAP in the navigation panel
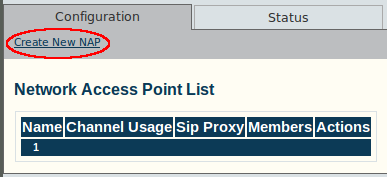
2- Click Create New NAP
3- Configure the new NAP:
- Enter a name for the NAP
- Select a user-created profile, if not, select default
- Click Create
4- Verify that the NAP was successfully created message appears
5- Associate a CAS R2 stack with the NAP:
- Select an interface (the newly-created CAS R2 stack)
- Click the "<<" button to add the interface to the list
- Click Save
6- Verify that the "NAP was successfully updated" message appears


