Adding ProSBC as a SIP Trunk in the FreePBX Server
Introduction
This document provides instructions on how to configure FreePBX Server with the ProSBC a s SIP trunk. Please visit the following link for more details about Configuring SIP Trunks in FreePBX Server
FreePBX SIP Trunk Configuration
1. After logging in as an Admin to your FreePBX GUI, navigate to “Connectivity” → “Trunks” and press the “Add Trunk” button. Select the option “Add SIP (chan_pjsip) Trunk”
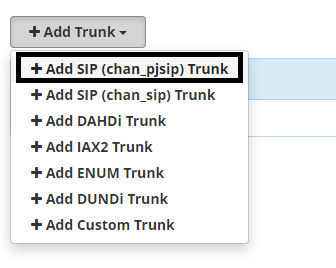
2 - Once done, this will bring up the Trunk Creation Screen. Under the General tab, enter a name for the trunk. For ease of management, It is recommended that this match the name of the SIP Endpoint you created in the ProSBC WebGUI for FreePBX NAP.
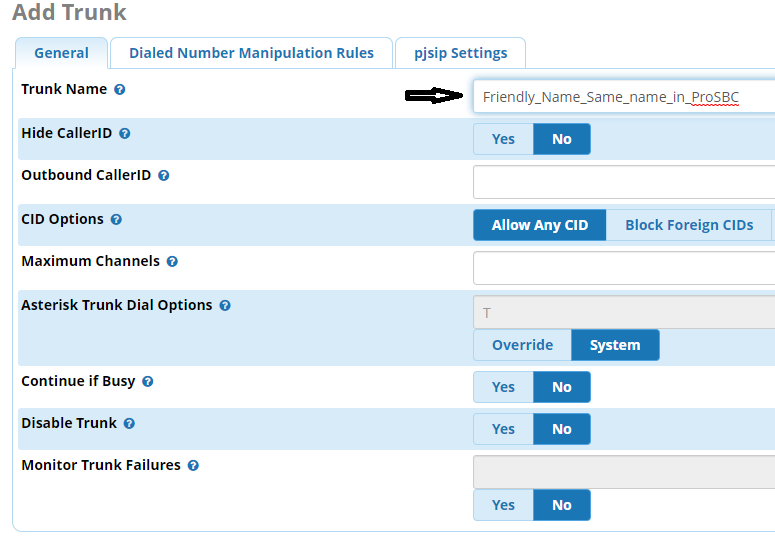
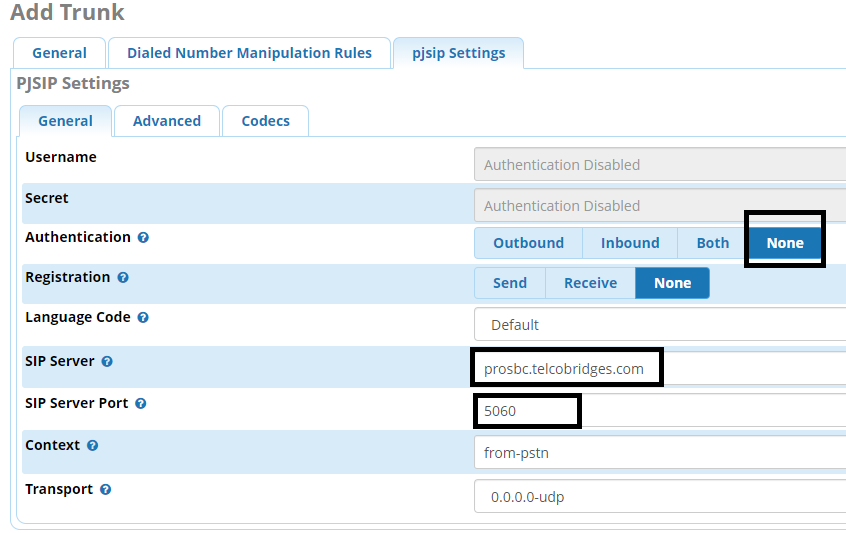
3 - Once done, navigate to the “pjsip Settings" → "General” tab. Here you will need to enter your endpoint information. If you're using an IP endpoint,
* Select None for Authentication
* SIP Server: Enter the Domain of your SIP Trunk (ProSBC FQDN or IP address)
* SIP Server Port: Set this to 5060
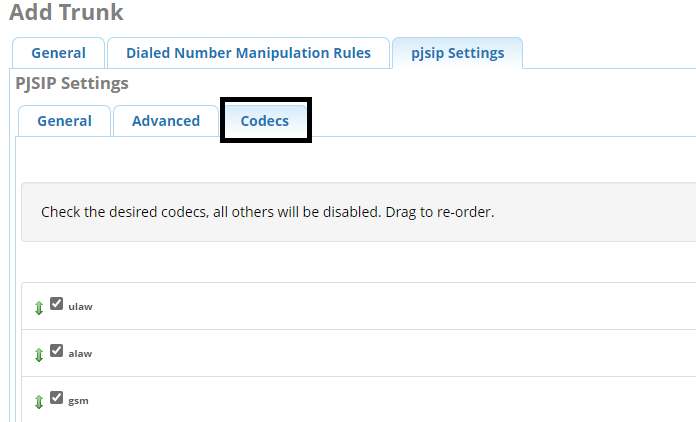
4 - Once done, select the “PJSIP Settings” → “Codecs” Tab. Ensure correct codec are selected.
FreePBX Route Configuration
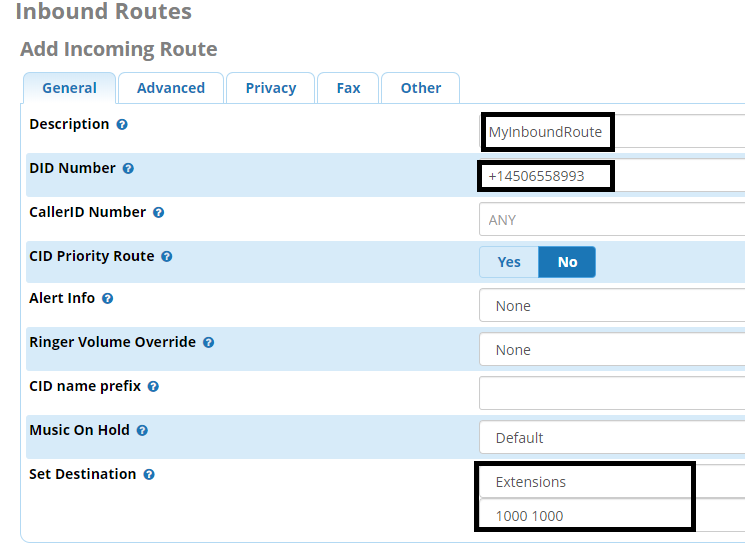
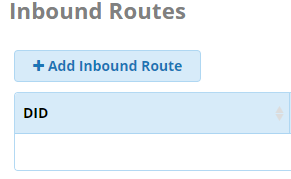
1 - To create an inbound route, navigate to “Connectivity” → “Inbound Routes” and click on "Add Inbound Route"
2 - Then set your options:
* Description: add a description of the route.
* DID Number:  fill in the DID number that you will have from your ITSP
* Set Destination: choose Extensions from the first drop down and then select the extension you created from the second drop down
Once done, “Submit” the configuration.
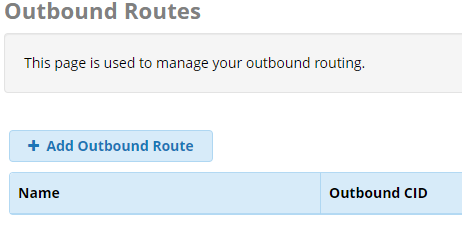
3 - To create an outbound route, navigate to “Connectivity” → “Outbound Routes” and click on "Add Outbound Route"
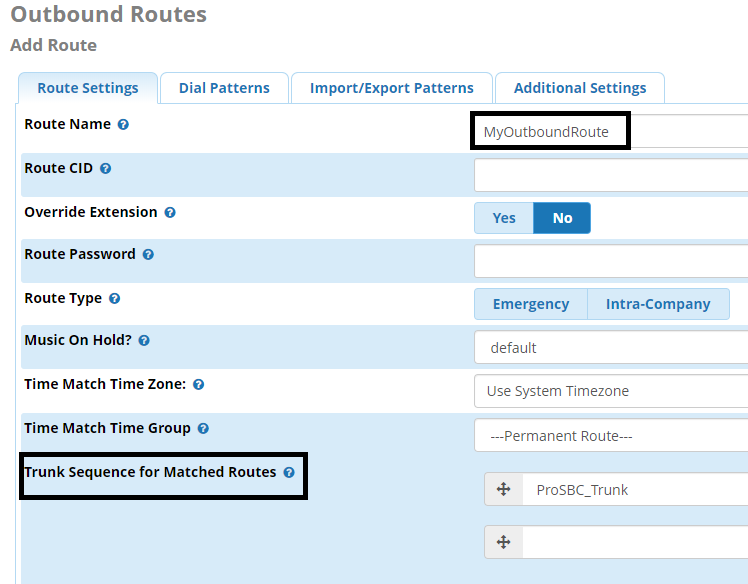
4 - Under the “Route Settings” tab, leave everything as the default except the following:
* Route Name: Add a friendly name for the route you are creating.
* Trunk Sequence for Matched Routes: Use the drop down button to select the SIP Trunk you just created.
5 - Once done, select the “Dial Patterns” tab. You can manually define the dial patterns or use Dial Pattern wizard.
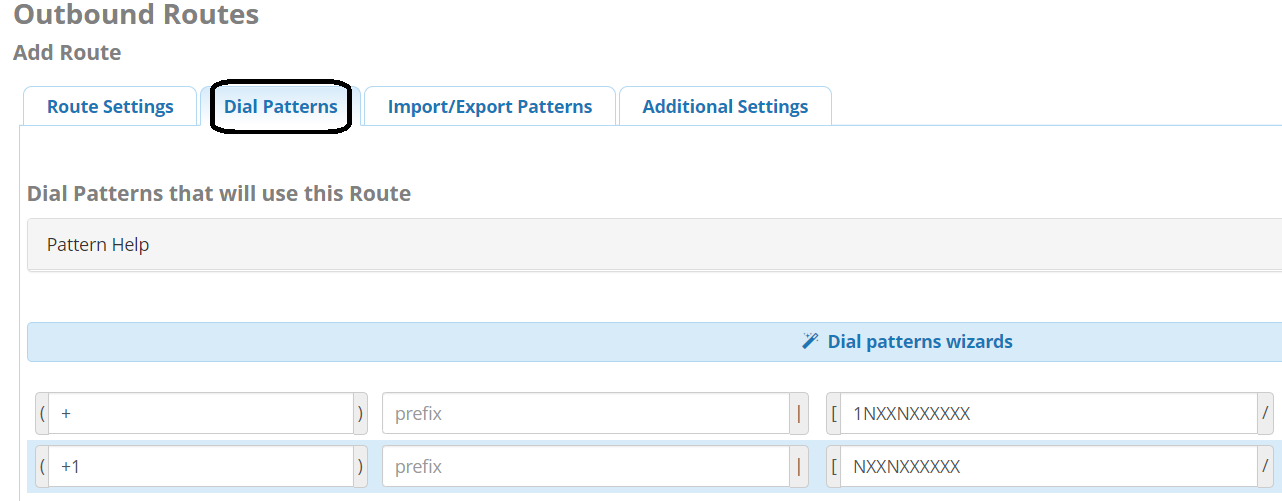
6 - Once done, “Submit” the configuration and press the “Apply Config” button. The route is ready to be used and your FreePBX is now configured to with ProSBC.
