Creating an N+1 Patch Panel
From TBwiki
Applies to version v2.9
One or two N+1 patch panels can be used to provide backup protection for the system.
To create an N+1 Patch Panel:
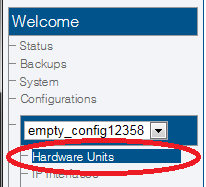
1- Click Hardware Units in the navigation panel
2- Click Create New Unit
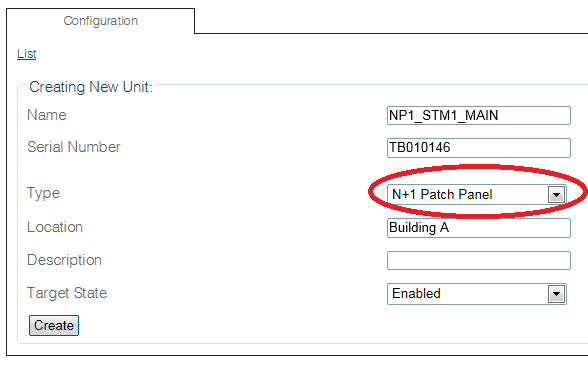
3- Enter the name of the patch panel.
- Enter the serial number of the patch panel.
- Select N+1 Patch Panel as the type.
- Enter the location of the device.
- Enter a meaningful description for the device.
- Click Create
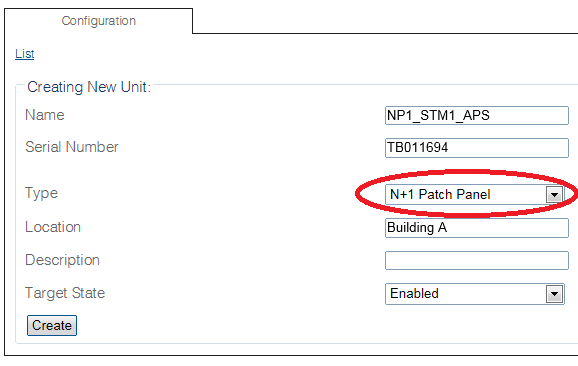
NOTE: If your system is configured with a main and a backup patch panel, repeat steps 2 and 3 to add another N+1 patch panel. The following image shows a backup N+1 panel being added.
4- Verify that the newly added N+1 patch panel(s) appear in the N+1 Patch Panels list.
Path
Parameters (text)
Parameters (json)


