TSBC-SW:Cloud:VmWare Launching Instance Web A
From TBwiki
Revision as of 12:55, 5 October 2017 by Jean-Pierre Marcil (Talk | contribs)
Launching an instance using ESXi web interface
- Log in using the Vmware web interface
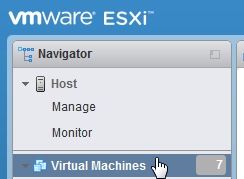
- Select 'Virtual Machines' from the left menu
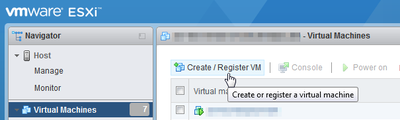
- Click on 'Create / Register VM'
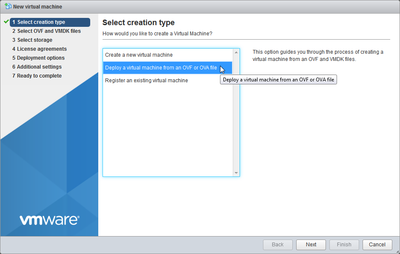
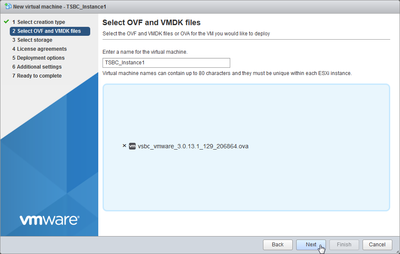
- Select 'Deploy a virtual machine from an OVF or OVA file' then press 'next'
- Enter the name. Drag the file or browse to the location of the TSBC-SW image obtained from TelcoBridges. 'Click 'Next'
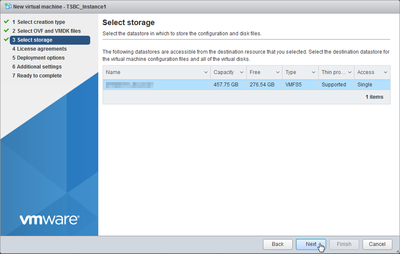
- Select a datastore (if more than one are available) then click 'Next'
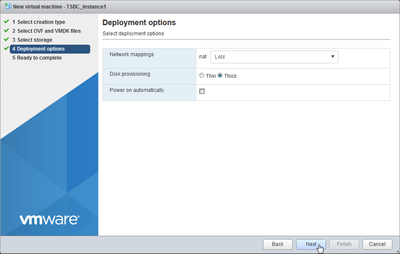
- Choose your network. Select 'Thick' disk provisioning. Uncheck 'Power on automatically'. Click 'Next'
- Click 'Next'
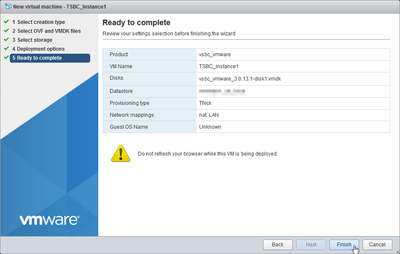
- Do not refresh your browser and wait until the machine is deployed.

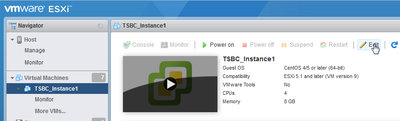
- Once deployed, edit the VM
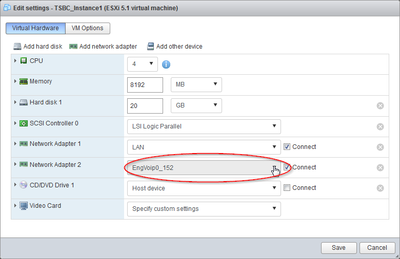
- Edit network adapters to connect on proper networks. Make sure that at least one of the adapter connects to the private management network of the setup from which WebPortal access will be granted. Do not press the 'Save' button yet.
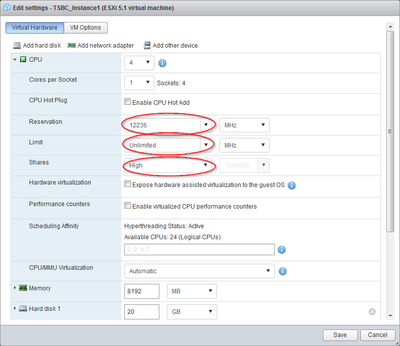
- Click on 'CPU' to open the details. Set 'Shares' to 'high', enter the maximum number of MHz corresponding to your number of CPU cores in 'Reservation' (See TSBC-SW:Cloud:VmWare_Launching_Instance_Web_A#Calculating_Reserved_CPU_MHz) and make sure the 'Unlimited' option is selected. Do not press the 'Save' button yet.
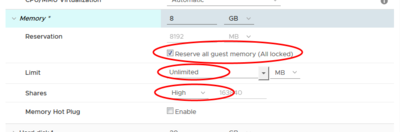
- Open the 'Memory' details and check-mark the 'Reserve all guest memory (All locked)' option. Do not press the 'Save' button yet.
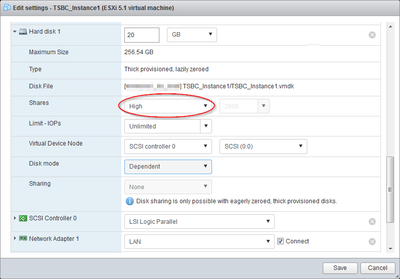
- Open the 'Hard disk 1' details and set the 'Shares' to 'High'. Do not press the 'Save' button yet.
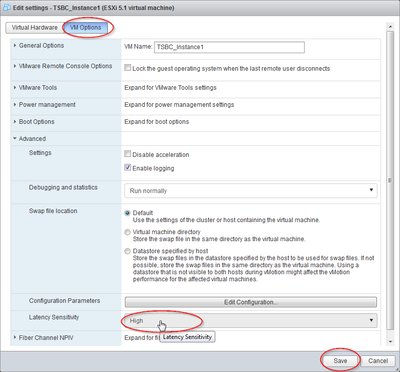
- Click on the second tab 'VM Options', expand 'Advanced' and set 'Latency Sensitivity' to 'High' then press the 'Save' button.
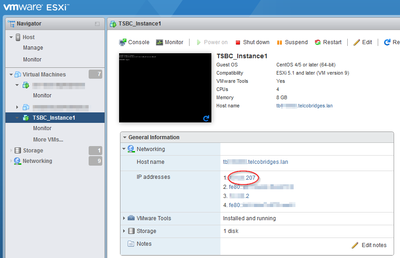
- Back to the main screen, click on "Power On" to start the new VM.
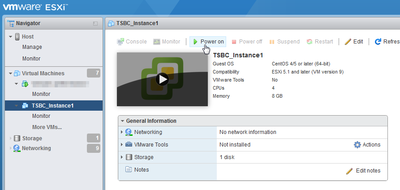
- Once the VM had completely booted, its assigned DHCP IPs will be displayed in General Information -> Networking. Note this IP address to access the Web Portal configuration interface later.