FreeSBC:SIP Trunking:Example A
Contents |
Applies to version: v2.9, v2.10, v3.0
Introduction
The SIP Trunking Example Configuration provides you with a step by step SIP trunking Configuration of FreeSbc systems, using the Web Portal configuration tool. Complete general installation configuration steps, before you begin configuring your specific scenario.
SIP Trunking Example
Prerequisites
FreeSbc devices must be installed as described in their respective installation guides.
IP Network Configuration
Virtual Port Configuration for Wide Area Network
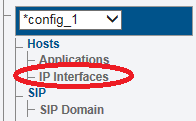
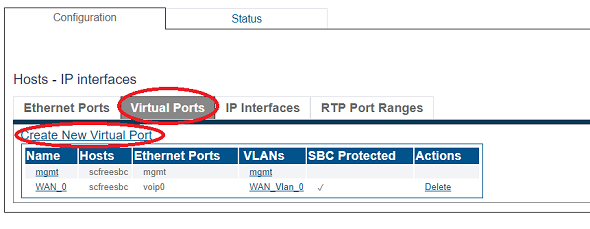
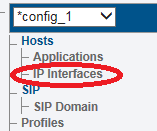
1. Select IP Interfaces from the navigation panel
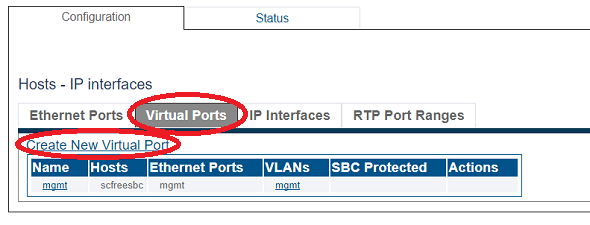
2. Click the Virtual Ports tab.
- Click Create New Virtual Port
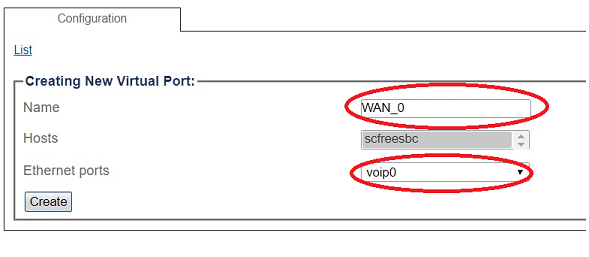
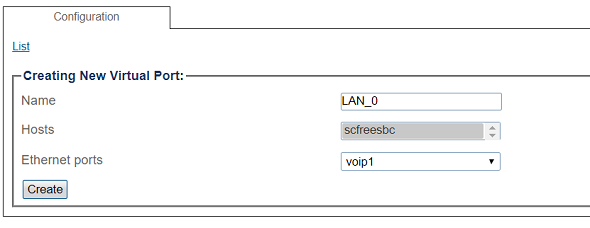
3. Configure the virtual port.
- Enter a name for the virtual port
- Select the host(s) to which the virtual port is assigned
- Select a physical port to which the virtual port is assigned
- Click Create
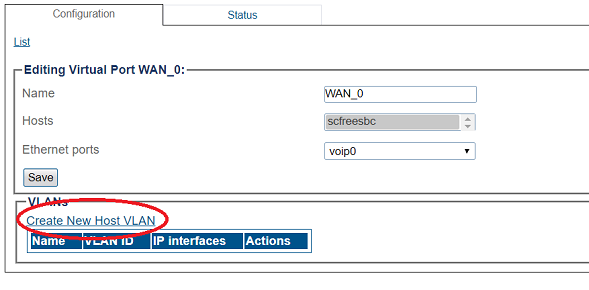
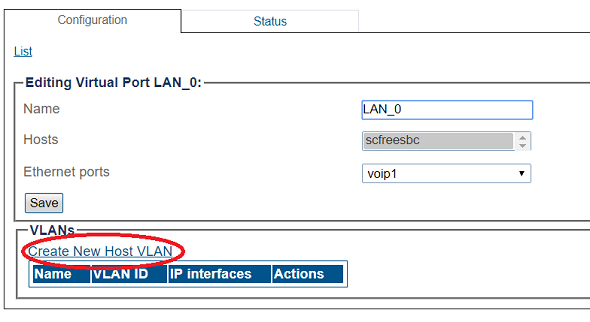
4. Create a VLAN that uses this virtual port
- Click Create new Host VLAN
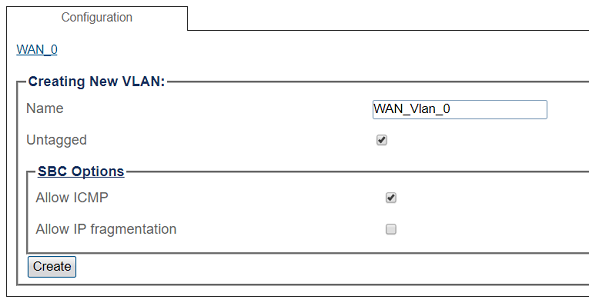
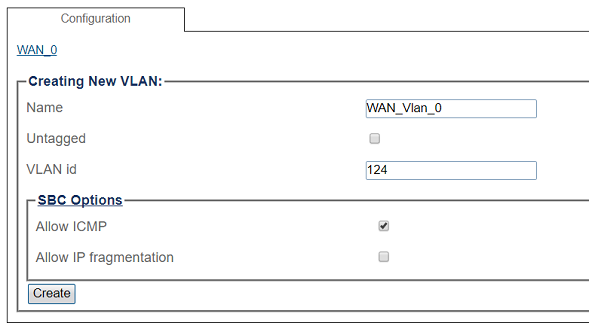
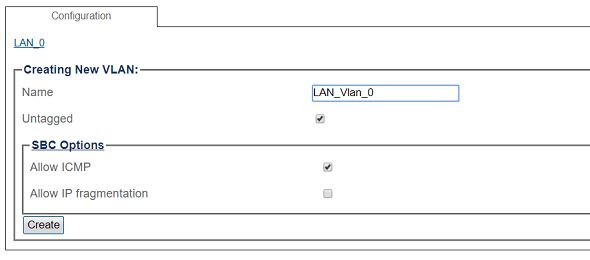
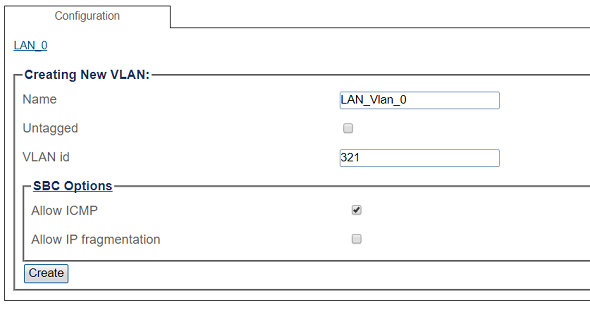
5. Configure the new VLAN
- Enter a name for the VLAN
- If the port is to be used untagged, make sure Untagged is checked.
- If the port is to be used with a 802.1Q tag, uncheck Untagged and enter a VLAN ID.
- Click Create
OR
Virtual Port Configuration for Local Area Network
1. Select IP Interfaces from the navigation panel
2. 2. Click the Virtual Ports tab.
- Click Create New Virtual Port
3. Configure the virtual port.
- Enter a name for the virtual port
- Select the host(s) to which the virtual port is assigned
- Select a physical port to which the virtual port is assigned
- Click Create
4. Create a VLAN that uses this virtual port
- Click Create new Host VLAN
5. Configure the new VLAN
- Enter a name for the VLAN
- If the port is to be used untagged, make sure Untagged is checked.
- If the port is to be used with a 802.1Q tag, uncheck Untagged and enter a VLAN ID.
- Click Create
OR
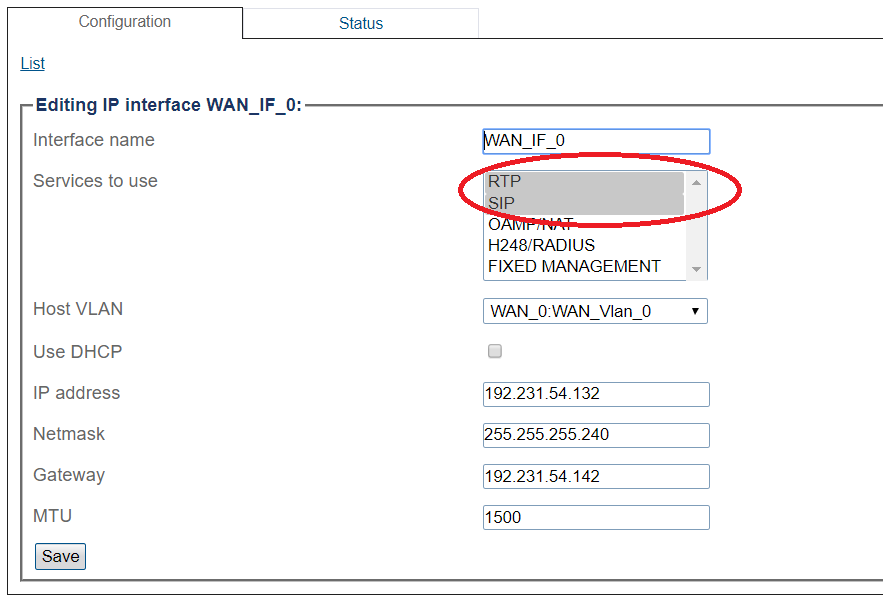
Configuring IP Interface for Wide Area Network
1. Select IP Interfaces from the navigation panel:
2. Click the IP Interfaces tab.
- Click Create New IP Interface
3. Configure the IP interface:
- Enter a name for the interface
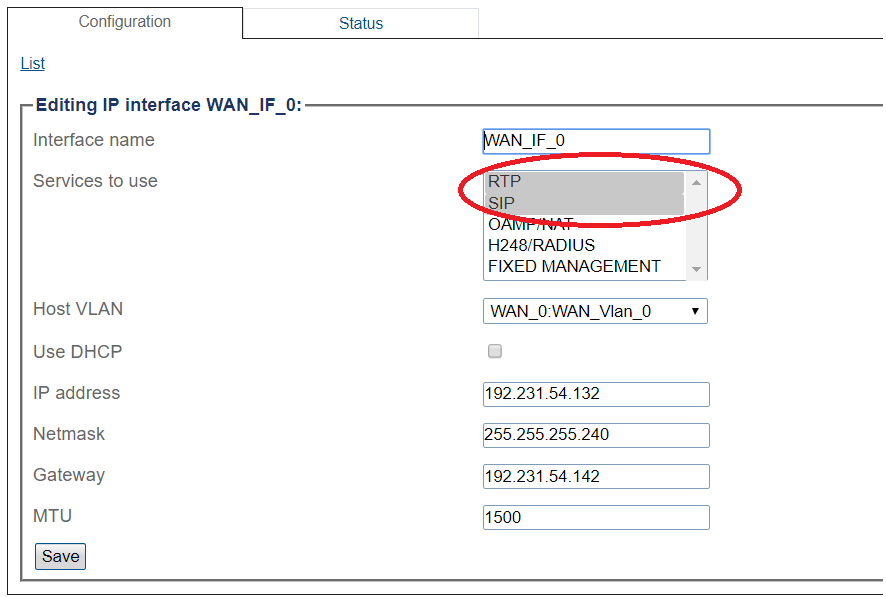
- Select 1 or more services to use for the IP interface (RTP and SIP).
- Select the Host VLAN from which IP packets will exit.
- Indicate whether or not to use DHCP to automatically get an IP address for this port. (selecting this option removes the need to enter and IP address, Netmask, and Gateway)
- Enter an IP address
- Enter a Netmask
- Enter a gateway address
- Click Save
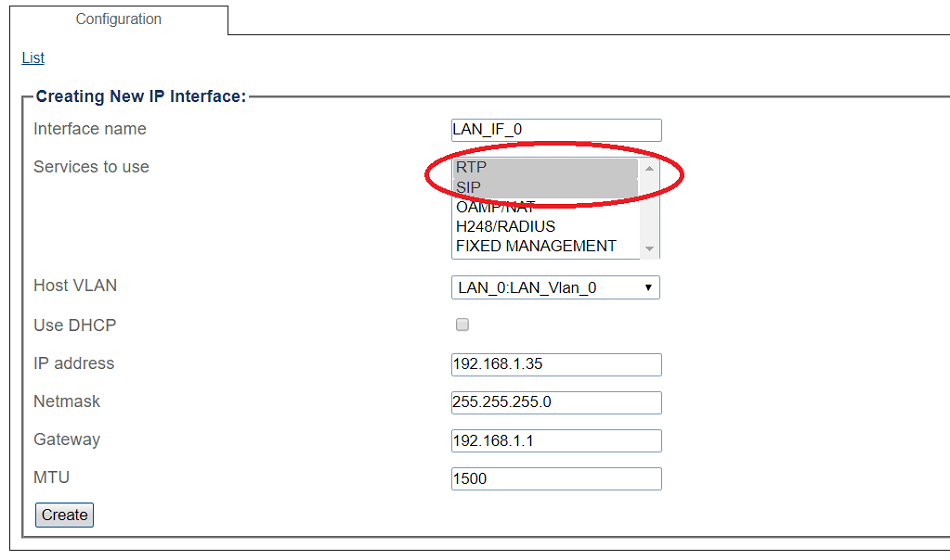
Configuring IP Interface for Local Area Network
1. Select IP Interfaces from the navigation panel:
2. Click the IP Interfaces tab.
- Click Create New IP Interface
3. Configure the IP interface:
- Enter a name for the interface
- Select 1 or more services to use for the IP interface (RTP and SIP).
- Select the Host VLAN from which IP packets will exit.
- Indicate whether or not to use DHCP to automatically get an IP address for this port. (selecting this option removes the need to enter and IP address, Netmask, and Gateway)
- Enter an IP address
- Enter a Netmask
- Enter a gateway address
- Click Save
SIP Stack Configuration
You must configure SIP signaling for your system. The first step in doing so is to create a SIP stack:
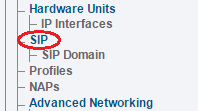
1- Click SIP in the navigation panel
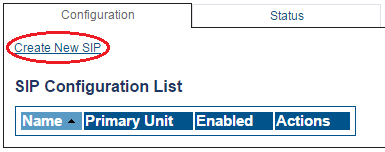
2- Click Create New Sip
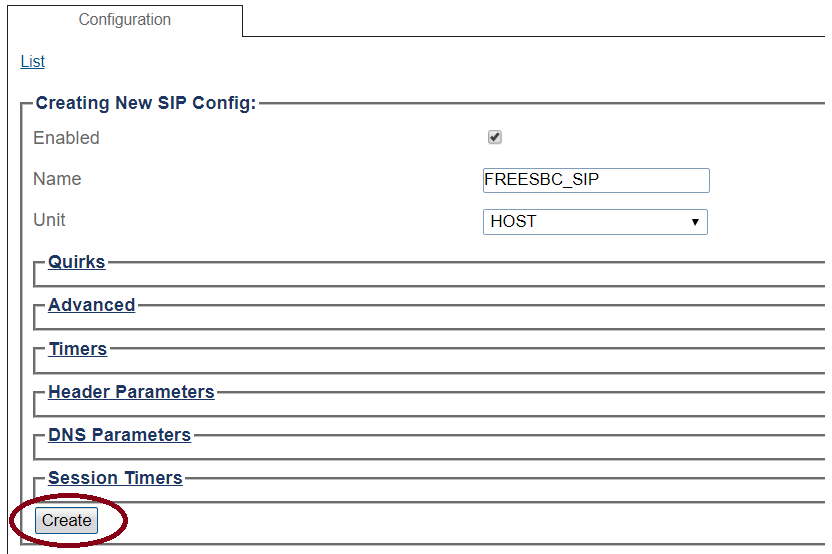
3- Create the new SIP stack:
- Verify that the box labeled Enabled is checked
- Enter a name for the stack
- Click Create
SIP Transport Server Configuration for Wide Area Network
1- Click SIP in the navigation panel
2- Select a SIP stack for which you wish to create a transport server
3- Click Create New Transport Server
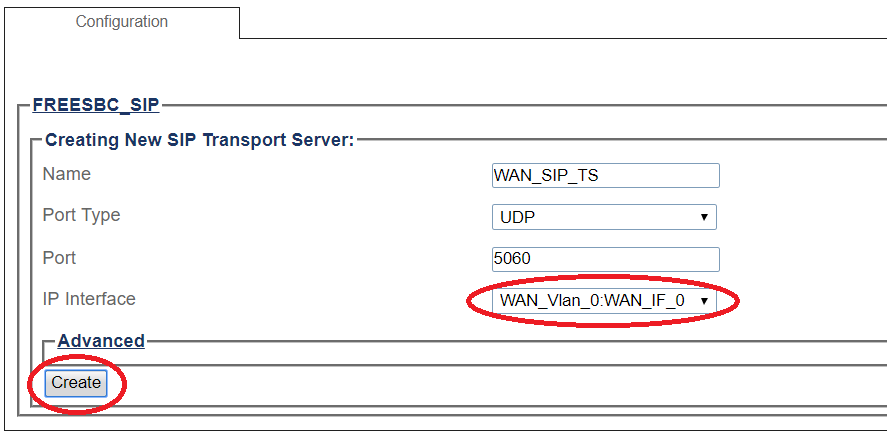
4- Create the new SIP transport server:
- Enter a name for the server
- Select an appropriate port type
- Select an appropriate host IP interface
- Click Create
SIP Transport Server Configuration for Local Area Network
1- Click SIP in the navigation panel
2- Select a SIP stack for which you wish to create a transport server
3- Click Create New Transport Server
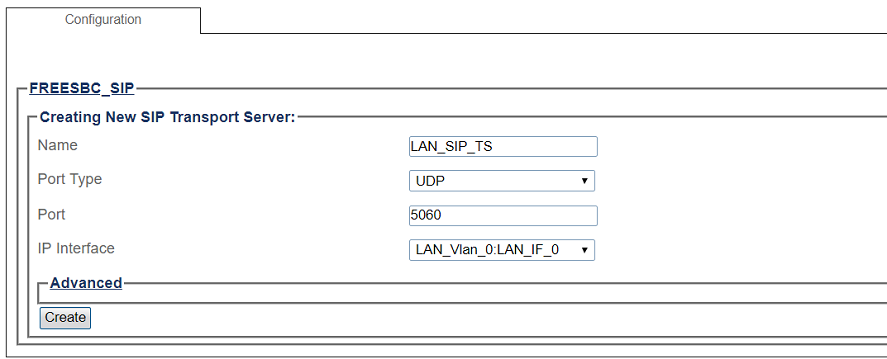
4- Create the new SIP transport server:
- Enter a name for the server
- Select an appropriate port type
- Select an appropriate host IP interface
- Click Create
SIP NAP
A Network Access Point or NAP represents the entry point to another network or destination peer (e.g. SIP proxy,SIP trunk, etc)
SIP NAP Configuration for Wide Area Network
To create a new NAP:
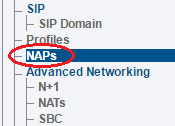
1- Click NAPs in the navigation panel
2- Click Create New NAP
3- Create the new NAP:
- Enter a name for the NAP

