FreeSBC:Cloud:Launching an Instance of VMware vSphere
Launching an instance of the VMware vSphere client
1- Log in using the Vmware infrastructure client interface 
2- Select File->Deploy OVF Template 
3- Browse to the location of the FreeSBC image that you obtained from TelcoBridges 
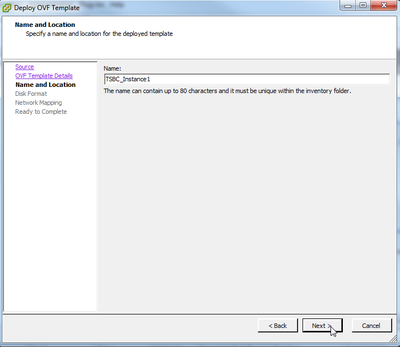
4- Click 'Next' until you need to name the new virtual machine instance.
- Enter the name and click 'Next'

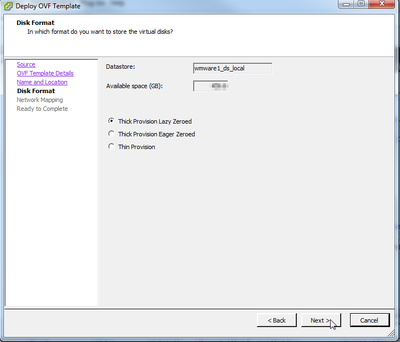
5- Select a datastore (if more than one are available)
- Select "Thick Provision Lazy Zeroed" as the disk format and click 'Next'

6- Accept all other default settings and wait until the machine is deployed.
7- Once the machine is deployed, right-click on the new instance and select "Edit Settings..." 
8- Press 'OK' 
9- Edit network adapters to connect to the proper networks. Make sure that at least one of the adapters connects to the private management network of the setup from which WebPortal access will be granted.
Do not click 'OK' yet! 
10- Click the 'Resources' tab and select CPU.
- Set 'Shares' to 'high'
- Slide the 'Reservation' cursor to the maximum (move to the right)
- Make sure the 'Unlimited' option is checked-marked.
Do not click 'OK yet! 
11- Select 'Memory' and select the 'Reserve all guest memory (All locked)' option.
Do not click 'OK' yet! 
12- Select 'Disk' and set the 'Shares' to 'High'.
Do not click 'OK' yet! 
13- Select 'Advanced CPU' and set the 'Mode' to 'None'.
Do not click 'OK' yet! 
14- Set the 'Latency Sensitivity' to 'High'
15- Click 'OK'
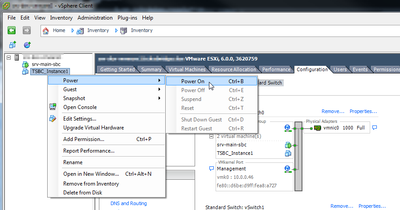
16- Return to the main screen, and select the newly instantiated virtual machine.
- Right-click and select "Power-->Power On" to start it.

17- Return again to the main screen, and select the newly instantiated virtual machine and click the 'Summary' tab. Once the virtual machine is completed booted, the assigned DHCP IP address will be displayed by clicking on the 'View all' button.
Note this IP address to access the Web Portal configuration interface later. 