FusionPBX Extension Creation
Introduction
This document provides instructions on how to add an extension to FusionPBX Server to work with the ProSBC. Please visit the following link for more details about Creating an Extensions in FusionPBX Server
FusionPBX Extension Configuration
1. Log in into the administration portal via the IP address of the machine that is running FusionPBX.
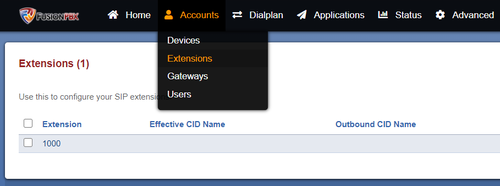
2. Select the Account tab at the top left and then from the drop-down menu click Extensions.
3. You will now be viewing the Extensions configuration page where you can add, edit or delete extensions.
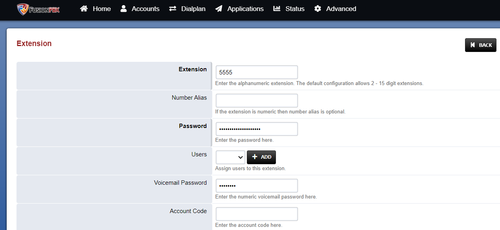
4. Press on the + ADD button on the right side of the screen to add a new extension. You will be required to fill in the following fields in order to create a new extension:
- Extension: Number to dial to reach this user
- Password: Password configured for the device's extension. It's automatically created, but you can change it.
- Effective Caller ID Name: The Caller ID name for outgoing calls from this extension; only enter the name, NOT the number
- Effective Caller ID Number: The Caller ID number for outgoing calls from this extension; only enter the number, NOT the name.
- Voicemail Password: This is the password used to access the voicemail system. This password can only contain numbers. A user can change the password you enter here after logging into the voicemail system (*98 by default) with a phone.
- Toll Allow: Enter the toll allow value here. (e.g. domestic; international; local)
5. Once the configuration is finished, click on the Save button and once the page is refreshed you will see a notice saying Update completed on the top center of the page.


