Toolpack v2.2:Configuring DS3 Line Services
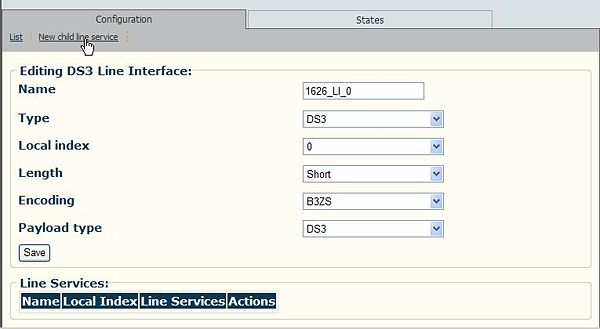
Note: To configure a line service, the line interfaces should already have been configured.
To create a DS3 line service
1. Click Create New Child Line Service from the Line Interface Information panel.
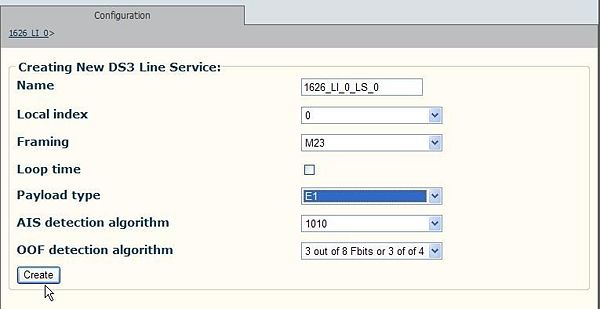
2. Enter a name for the line service, select a local index of 0, select payload type and click 'Create'.
In this example a payload type of E1 is selected. This means that this line service will carry an E1
payload over the DS3 line interface.
Note: Line services employing M23 framing will always have a local index of 0.
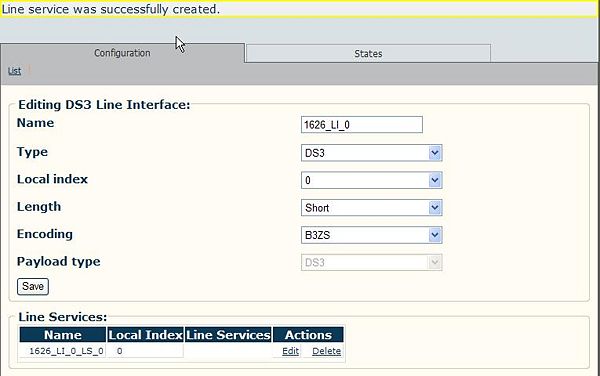
3. The resulting line service is displayed in the information panel.
- Repeat this procedure for each line service that will be used to carry payload on the first DS3 line
interface.
Note: The previous procedure for the DS3 TDM module must be carried out for each DS3 line
interface, referred to as local indexes 0-2, and for each required line service carrying
payload inside these DS3 line interfaces.
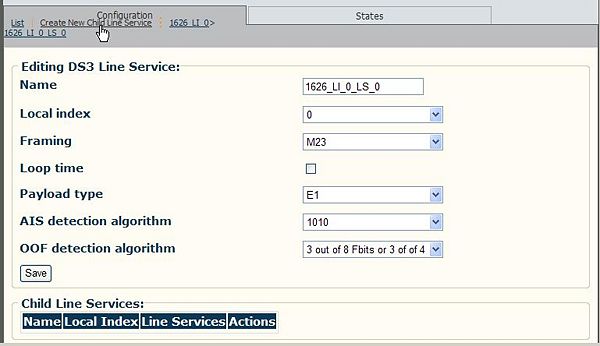
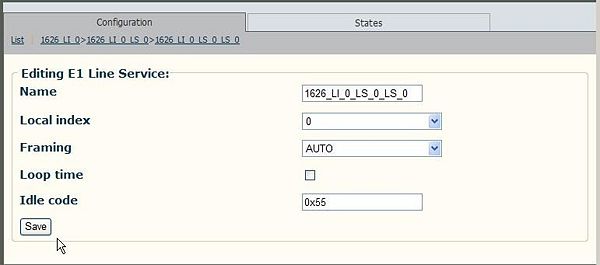
4. Click Create New Child Line Service to create a child line service for the DS3 line service.
- Enter a local index from 0-27 for T1/J1 lines and 0-20 for E1 lines.
5. Click Save to save the changes.
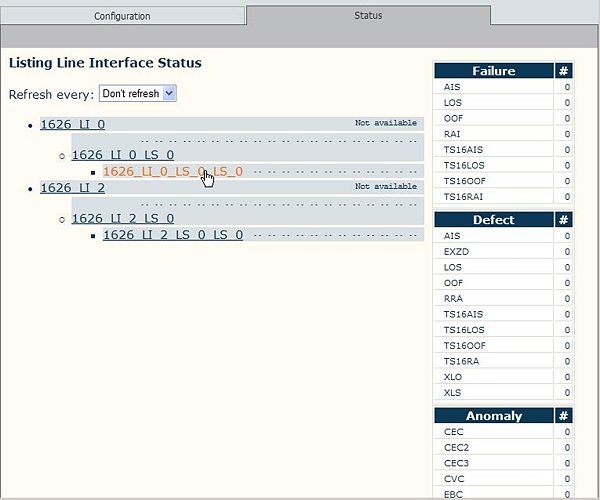
6. Click the Status tab, to view the line statuses.
Note: Selection of a child line service in the Line Interface Status window causes the status values to change reflecting the line service’s current state.
Verifying Status
To verify the status of a line interface, either select Status from the Navigation panel or select the Status tab in the Information panel.
