ProSBC/FreeSBC Initial Configuration
Contents |
Before You Begin
The initial configuration of the SBC is carried out by accessing a configuration wizard in a web browser (Chrome, Firefox or other). Before you begin, you must have the following information on hand:
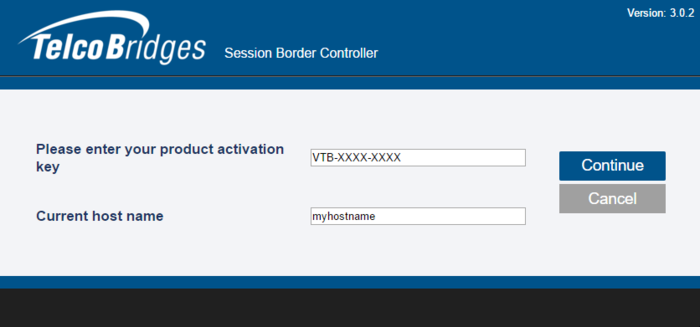
- Product key: In the following VTB-XXX-XXXX format. If you do not have this key, please go to our ProSBC Download site .
- Hostname of the unit. It is important to set the host name correctly and to not modify it later, otherwise you will need a new license.
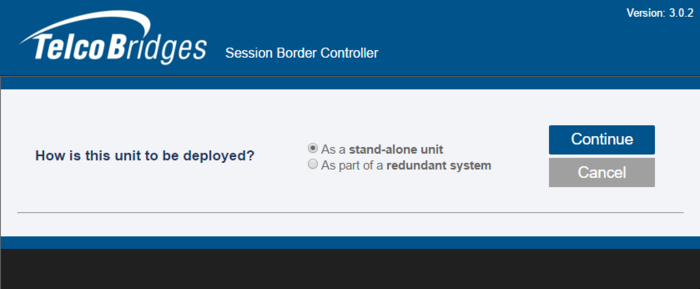
- Will the system be used as a standalone unit or in a Primary/Secondary configuration?
- Does the system require external transcoding? For example, G.711 to G.729a transcoding.
- The role of each of the network interface.
Once you have this information, proceed as described in the following procedures:
Initial configuration of ProSBC or FreeSBC
1- Open a web browser to the IP of your server, on port 12358. For example, if your server address is 192.168.178.30, the URL would be:
http://192.168.178.30:12358
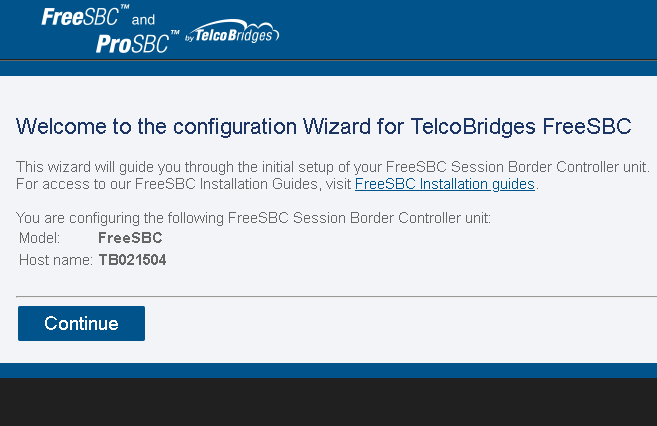
2- A Configuration Wizard is displayed.
- Click Continue
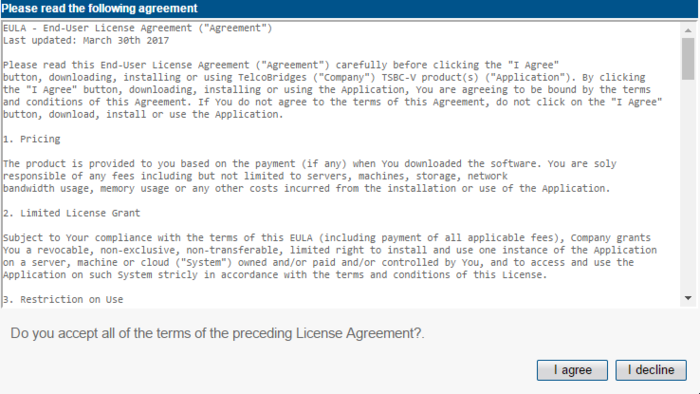
3- Accept the EULA agreement
4- Enter your activation key and hostname
Note: You do not need to enter the host name for AWS.
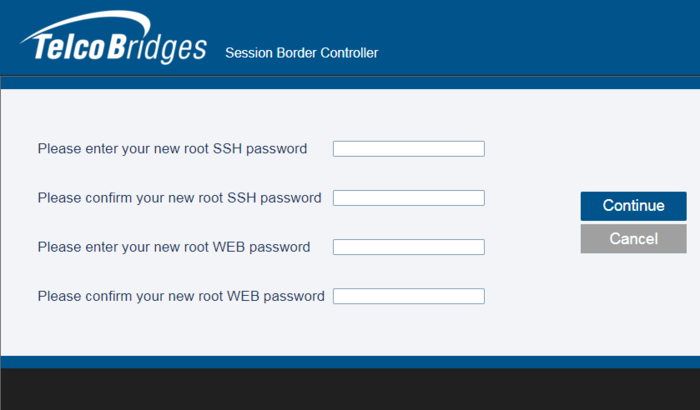
5- Enter your SSH and WEB root password
Note: You do not need to enter the SSH password for AWS.
6- Select the configuration of your SBC. Either standalone, or in a Primary/Secondary configuration
Note: This does not apply for AWS.
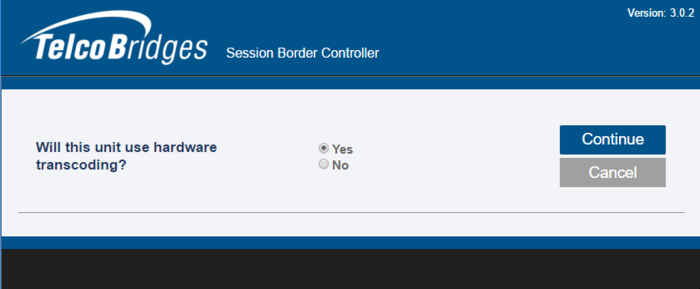
7- If the system requires external transcoding, select it here. As an example, if the system needs G.711 to G.729a transcoding, then select yes.
Note: This does not apply for AWS.
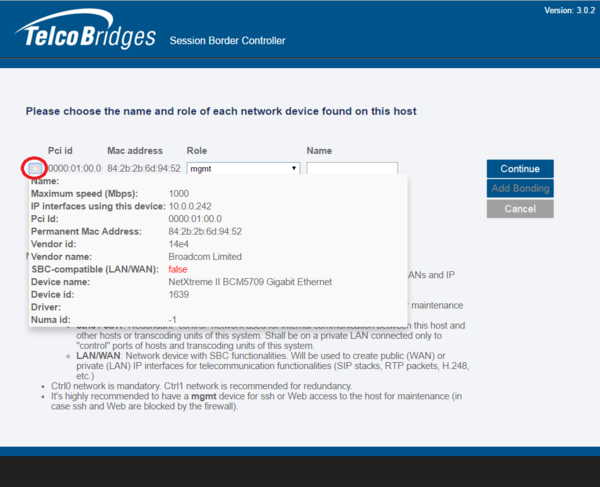
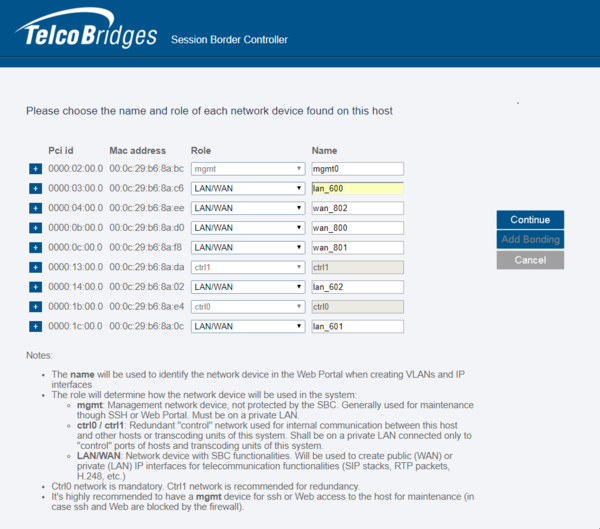
8- In this window, you define the role of the network adapters in the system. The following is a short description of each type:
- mgmt: Used for management of the system (suggested name: mgmt0)
- ctrl0: Used for communication with the external transcoding devices (suggested name: ctrl0)
- ctrl1: Same as ctrl0. Adds redundancy (suggested name: ctrl1)
- LAN/WAN: SIP/RTP access to private network (suggested name: LAN0) or public network (suggested name: WAN0).
You must configure all IP interfaces. If you are not sure, configure them as management interfaces.
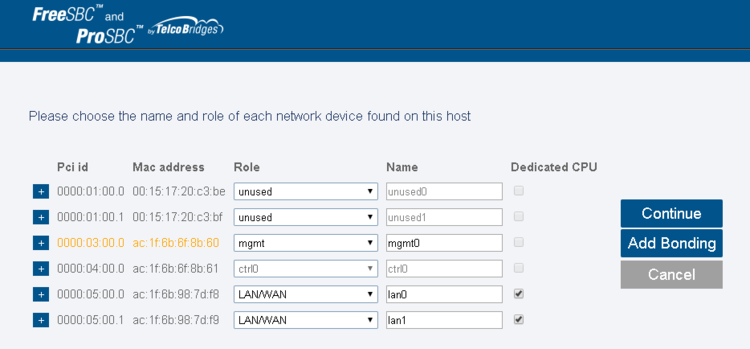
Note: Select the "+" sign to acces more information about an interface.
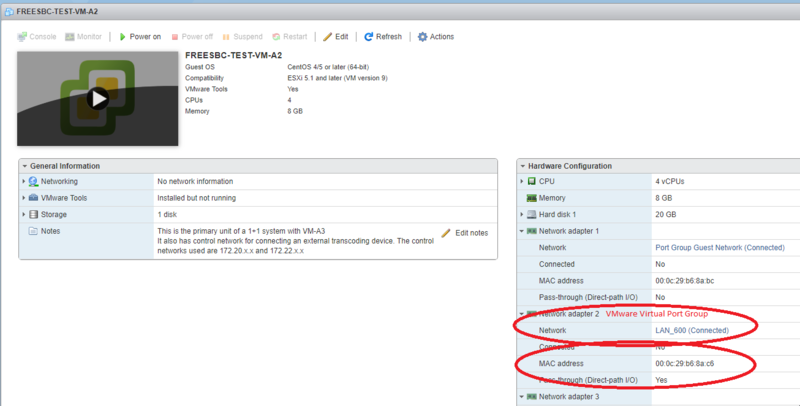
Note: If 1+1 (control networks ctrl0/ctrl1) or multiple vlan interfaces are needed, make sure all of them are assigned to the appropriate MAC address taken from the Platform (VMware Instance settings or other)
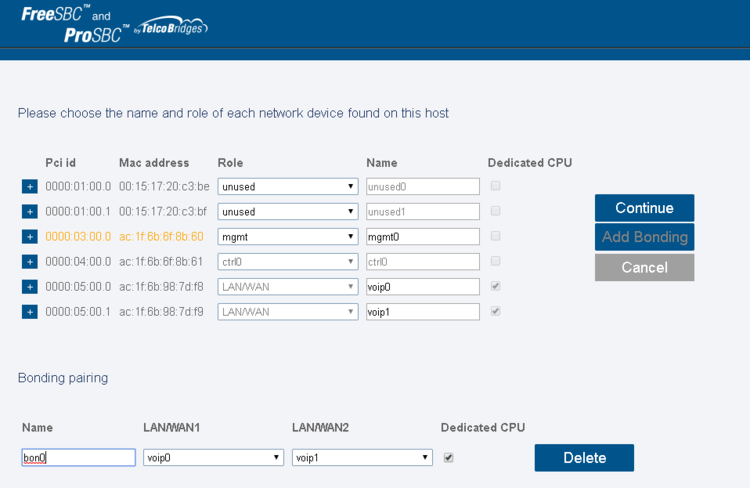
9- To add an Ethernet Bonding, click Add Bonding.
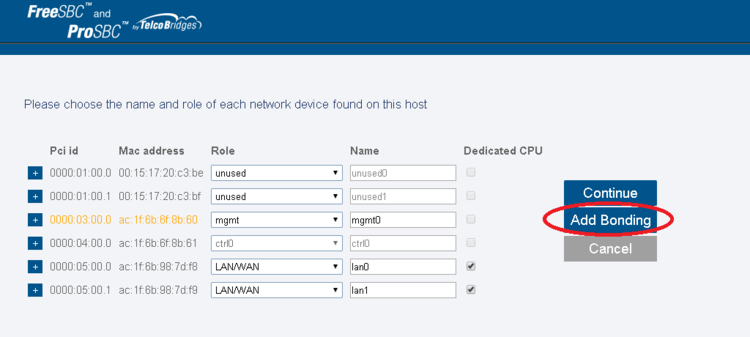
10- Enter a name for the Bonding Pair, followed by the LAN/WAN1 and LAN/WAN 2.
- When you are done, click Continue.
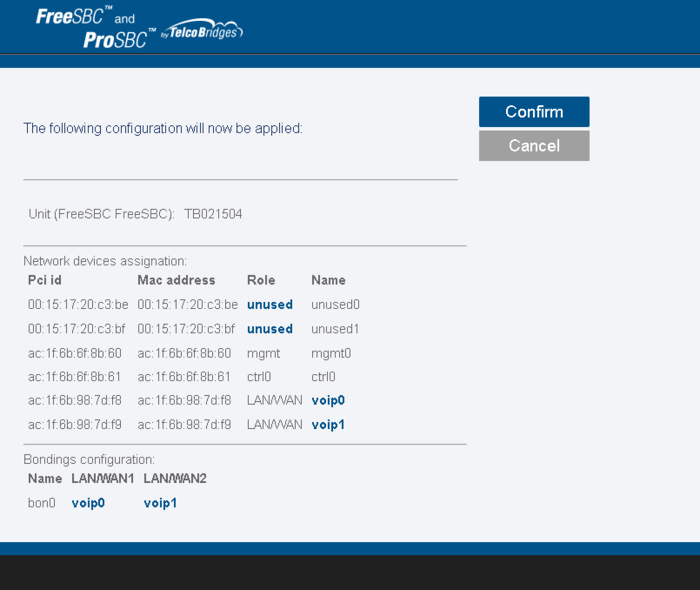
11- A Confirmation window is displayed.
- If you are satisfied with the configuration, click Confirm.
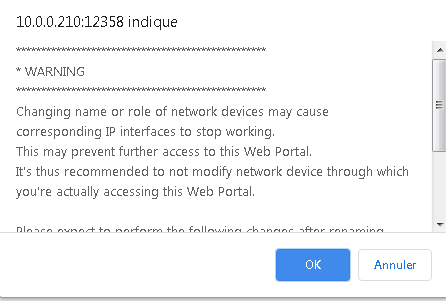
12- A warning message is displayed alerting you to the possible interruption of the IP interfaces when the change is applied.
- Click OK.
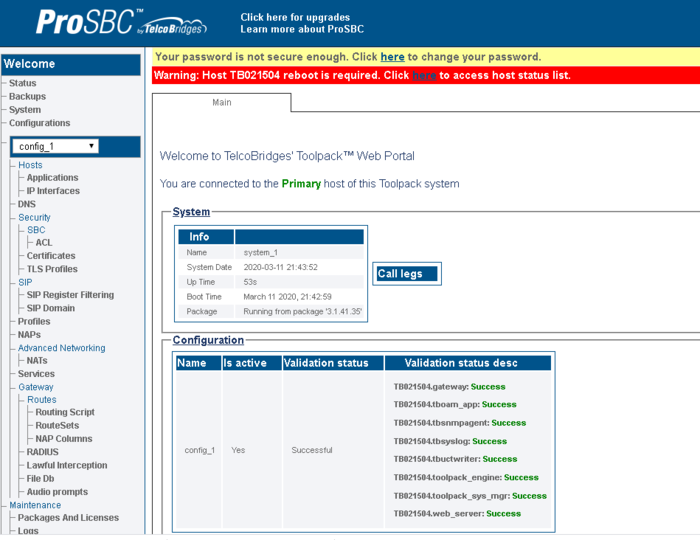
13- After the bonding configuration is complete, you must reboot the system.
Configure the IP Interface of the Ethernet Bonded Port
To use the newly created Ethernet bonded port, you must configure the VLAN port and IP interface.
1-Select IP Interface from the navigation bar.

2-Select the IP Interfaces tab.
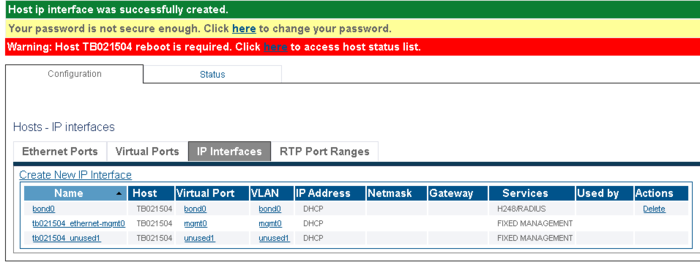
- Click Create New IP Interface.
3-Configure the VLAN port and IP address that will be used to access the Ethernet Bond interface.
- The following image shows the bond0 configured port.
Note: Once the configuration is completed, you will be asked retrieve the license seed of this unit to allow for the installation of the license.

To learn how to do this, refer tos:  Retrieving a License for SBC Units

To get help, please contact TelcoBridges TB Support.
