Creating a DNS Group
| This article applies to: | Product | Version |
| SBC | 3.1 |
Note: This article describes how to configure a DNS Group, which is not the same as creating a DNS server group for the Linux host.
You can create one or more DNS Groups to manage the DNS Server traffic of Fully Qualified Domain Names (FQDN).
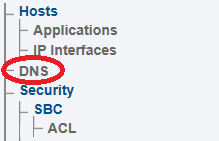
1- Click DNS in the navigation panel
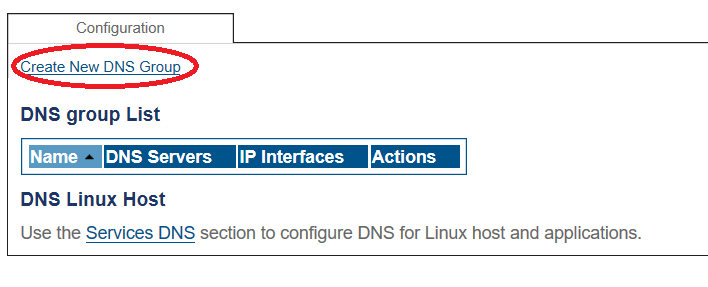
2- Click Create New DNS Group
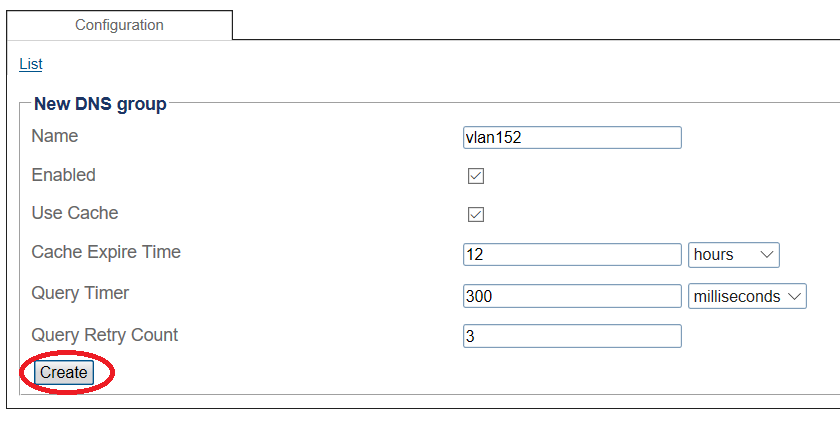
3- Enter a name for the DNS Group.
- Click Create
4- Verify that the "DNS group was successfully created" message appears
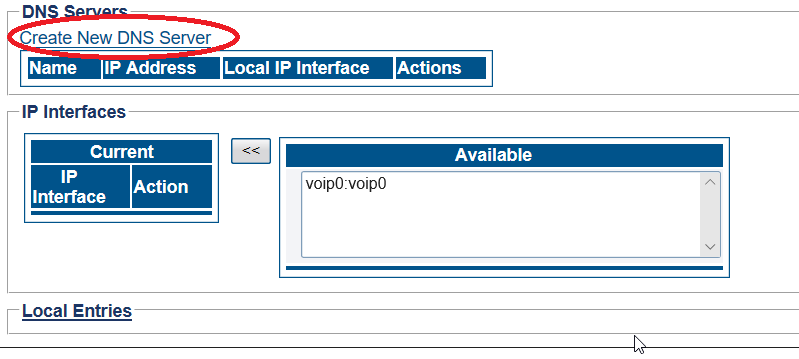
5- Create a DNS Server for the DNS Group.
- Click Create New DNS Server.
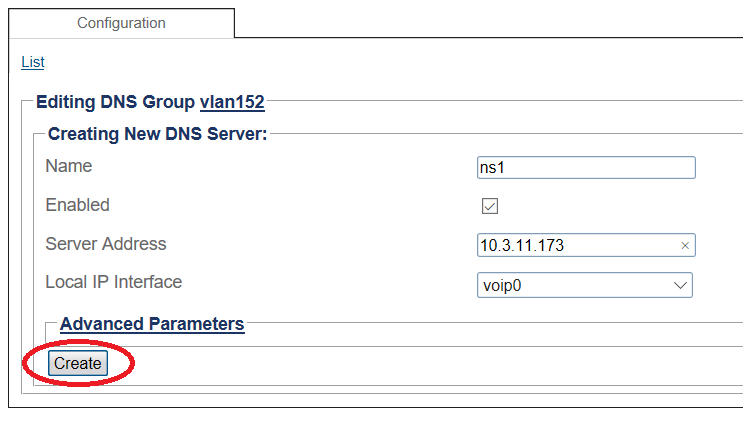
6- Configure the DNS Server.
- Enter a name for the DNS server.
- Enter an IP address for the server.
- Select a Local IP interface. This is the interface through which the DNS requests will be transmitted.
- Click Create.
7- Verify that the "DNS server was successfully created" message appears
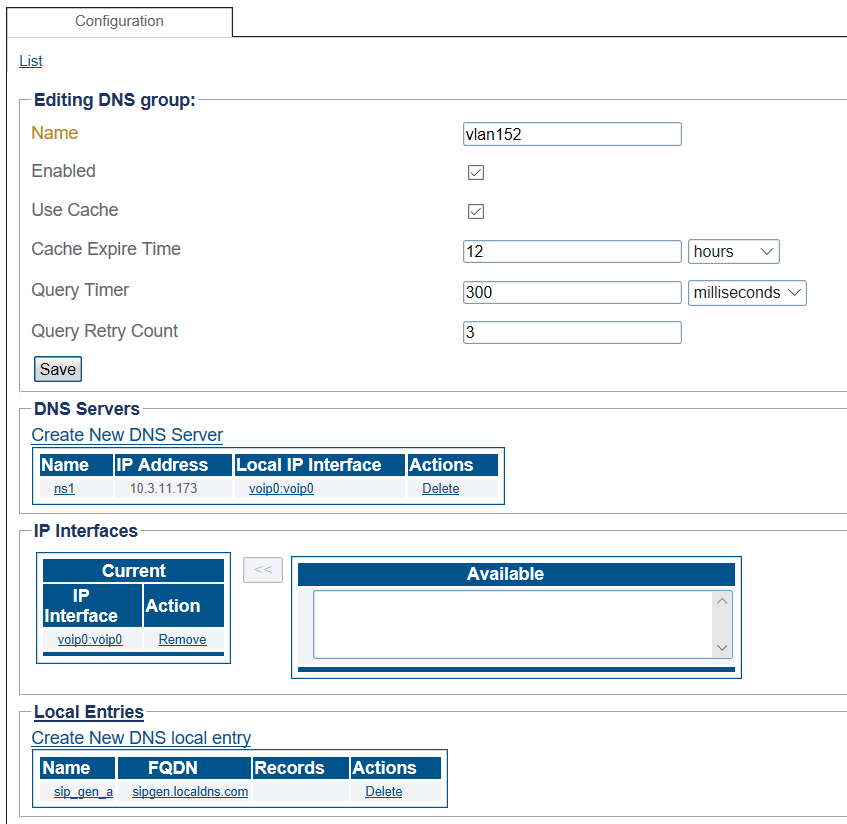
8- Select an IP interface from the list of available interfaces. The interfaces that are added will have their FQDN requests resolved by this DNS group.
- Click Create.
The DNS Group with the new DNS Server and DNS Local entries are displayed.
List of Parameters
