FreeSBC:Cloud:Virtmanager Installation
Below is the procedure to work with an instance of TelcoBridges's virtual SBC on a Virtmanager infrastructure.
Contents |
Requirements
Minimal Cloud requirements:
- 64 bits infrastructures only
- Virtio/e1000 NIC interface
- One Ethernet adapter for management
- One or more Ethernet adapter(s) for data
| Sessions | CPU | RAM | Disk Space | Ethernet ports |
|---|---|---|---|---|
|
Up to 5,000 |
2 |
4 Gb |
40 Gb |
1 Gbps |
|
5,000-20,000 |
4 |
8 Gb |
60 Gb |
4 X 1 Gbps or 1 X 10 Gbps |
|
20,000-50,000 |
4** |
16 Gb |
80 Gb |
1 X 10 Gbps |
|
Above 50,000 |
6** |
24+ Gb |
100 Gb |
Multiple 10 Gbps |
More details on HW/CPU/NIC requirements can be found here: RequirementsMatrix
Getting the Image
Please go to our FreeSBC Download site to get a copy of the latest FreeSBC Image. In the Download Section, while filling the form, choose correct platform "KVM". As a result, you should get file fresbc_kvm.qcow2. Please, mention "Product Key" and keep containing email in a safe place.
Upload Image File to Server/Cloud
You need an SFTP client to upload FreeSBC image to Proxmox. For example, using WinSCP SFTP Client. You need to uncompress FreeSBC image to the virtual images folder and rename the image to your vm name if you want. In our sample, we used /srv/LocalImages as a folder.
 > cd /srv/LocalImages
   sudo tar xzvf freesbc_kvm_3.0.107.3_172_233929.qcow2.tar.gz
   sudo mv freesbc_kvm.qcow2 my_freesbc_3_0_107_3.qcow2
Create VM for FreeSBC
Define the amount of CPUs and RAM according to requirements. Follow the VM creation process by dialog tabs as below
- Launch virtmanager from the Linux GUI: Applications→System Tools→Virtual Machine Manager
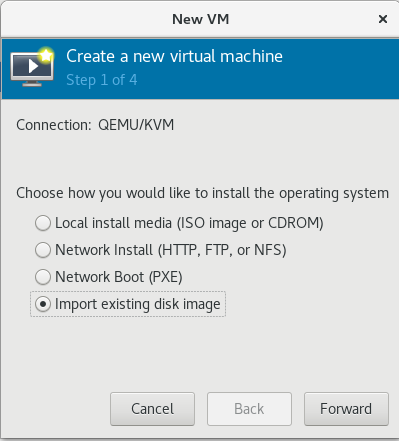
- Create new VM: File→New Virtual Machine
- Import Existing disk Image,
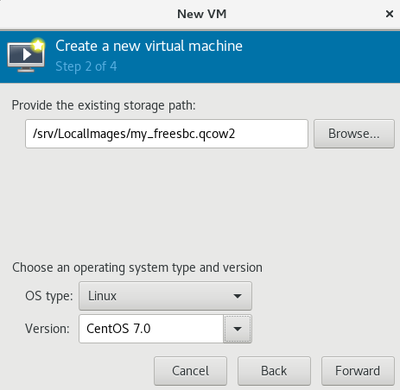
- Set OsType and Version to Linux/Centos7 and click "Forward"
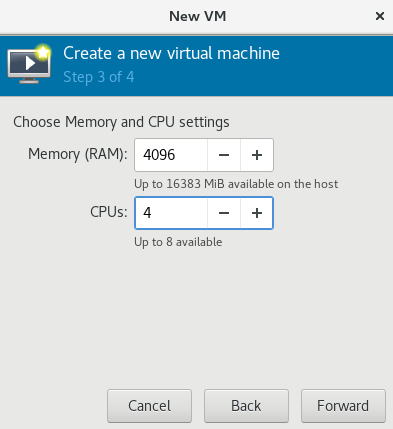
- Select quantity of RAM and CPU and click "Forward"
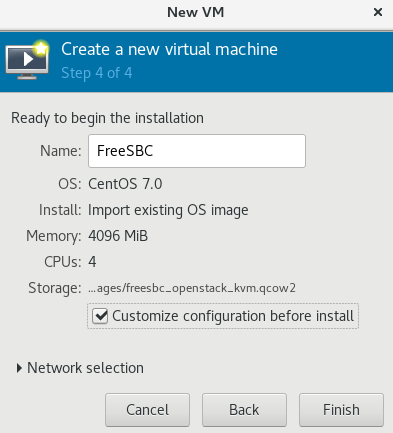
- Set the name of you VM : ie FreeSBC in this example. Make sure “Customized Hardware” checkbox is checked
- Add the desired number of Ethernet interfaces as macvtap in “passthrough” source mode, and select the device model you want to emulate (virtio vs e1000)
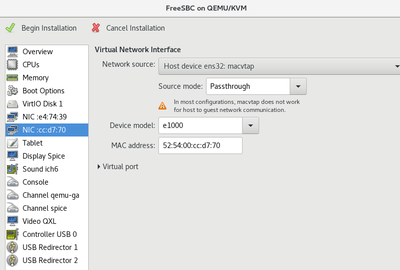
More info on KVM NIC source mode here: https://access.redhat.com/documentation/en-us/red_hat_enterprise_linux/6/html/virtualization_administration_guide/sect-attch-nic-physdev
Accessing the FreeSBC web portal
- Open a web browser to the management IP of the FreeSBC, on port 12358. Example if your server address is 192.168.178.30, the URL would be:
http://192.168.178.30:12358 - You should get to the FreeSBC Configuration Wizard
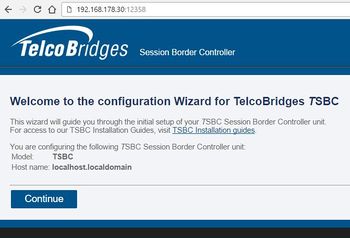
From here, you can go to Web Portal Initial Configuration Guide to continue the installation.
