VitalPBX SIP Trunk Creation
Introduction
This document provides instructions on how to add a SIP Trunk to VitalPBX Server to work with the ProSBC. Please visit the following link for more details about Creating a SIP Trunk in VitalPBX Server
VitalPBX SIP Trunk Configuration
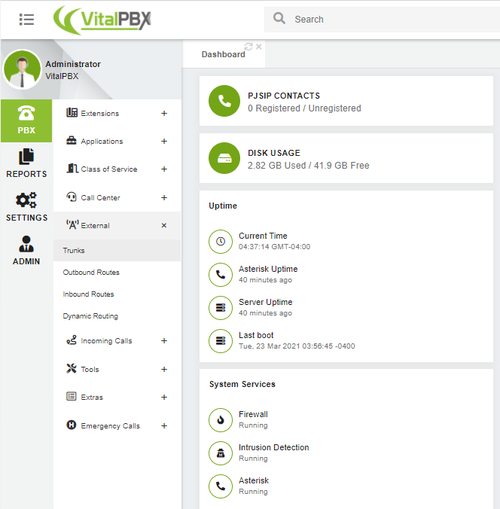
1. Login into the administration portal via the IP address of the machine that is running VitalPBX.
2. Select the PBX tab at the top left and then from the drop-down menu click External -> Trunks.
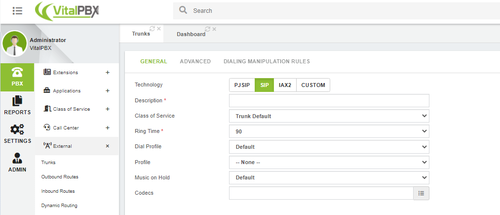
3. Select the SIP
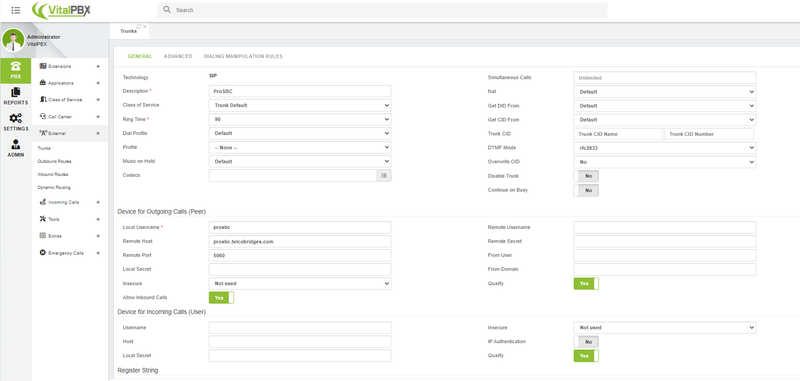
4. As shown below image there are very few fields to configure. We will explain the fields that need to configure the trunk.
- Description Short description to identify this trunk
- Remote Host Address for all SIP communications (inbound and outbound). ProSBC FQDN/IP Address must be entered in this area.
- Remote Port Destination SIP Port. It must be the same as the ProSBC Transport Server port.
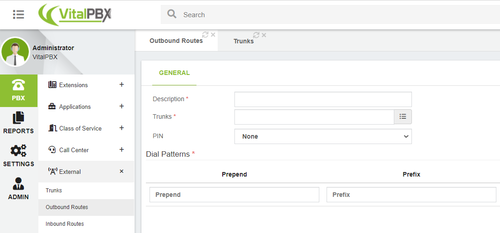
5. We need to create an outbound route for this new trunk. Select the PBX tab at the top left and then from the drop-down menu click External -> Outbound Routes.
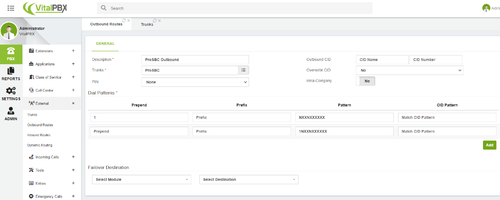
6. Enter the Outbound Route details
- Description Short description to identify this outbound route
- Trunks Select the SIP Trunk created for ProSBC
- Dial Patterns Add the Dial Patterns to use this Outbound Route
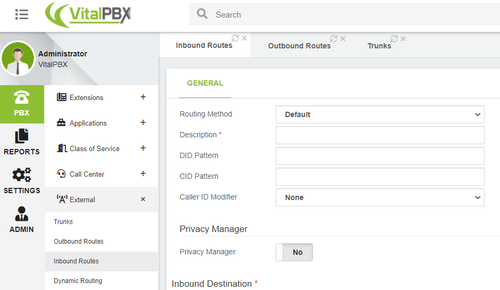
7. We need to create an inbound route for this new trunk. Select the PBX tab at the top left and then from the drop-down menu click External -> Inbound Routes.
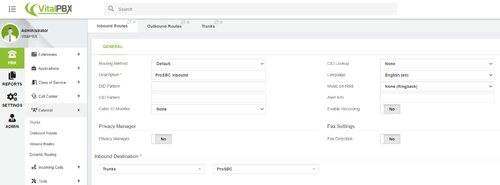
8. Enter the Inbound Route details
- Description Short description to identify this inbound route
- DID Pattern If you have DIDs coming with the trunk please enter the DID pattern
- Inbound Destination Select where to send incoming calls from the DID
