Allocating a SIP Open Network Access Point (NAP)
| This article applies to: | Product | Version |
| SBC | 3.0, 3.1 |
You must allocate a SIP NAP for your system. To create a new NAP:
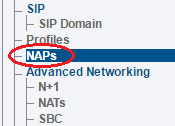
1-Click NAPs in the navigation panel
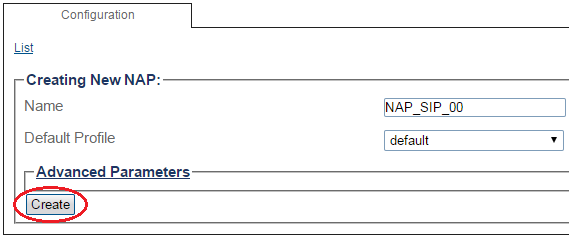
2-Click Create New NAP
2-Create the new NAP
- Enter a name for the NAP
- Click Create
3-Verify that the NAP was successfully created message appears
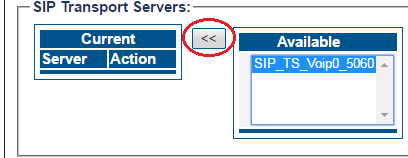
Associate a SIP transport server with the new NAP
1-Select a SIP Transport Server from the Available list
2-Click "<<" to associate the SIP Transport Server with the NAP
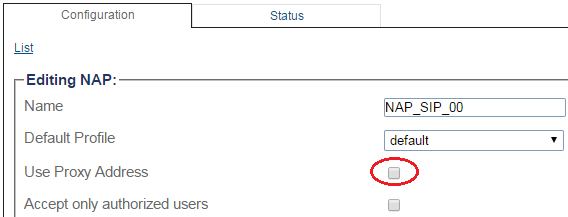
Disable proxy address
Configure the access control list (ACL)
The ACL will determine which remote IP addresses will be allowed with this NAP.
Outgoing calls using this NAP will sent to the IP addresse/port specified in the "To" SIP header (as chosen by routing scripts).
1-Enter an IP/MASK (use 0.0.0.0/0 to accept any addresses)
2-Click "<<" to add in the list of Access Control
Associate a Port range with the new NAP
1-Select a port range from the Available list
2-Click "<<" to associate the Port range with the NAP
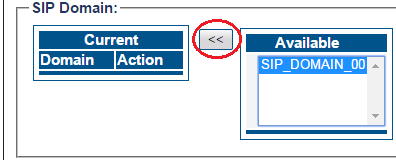
Associate a SIP Domain with the new NAP (optional)
1-Select a sip domain from the Available list
2-Click "<<" to associate the SIP Domain with the NAP
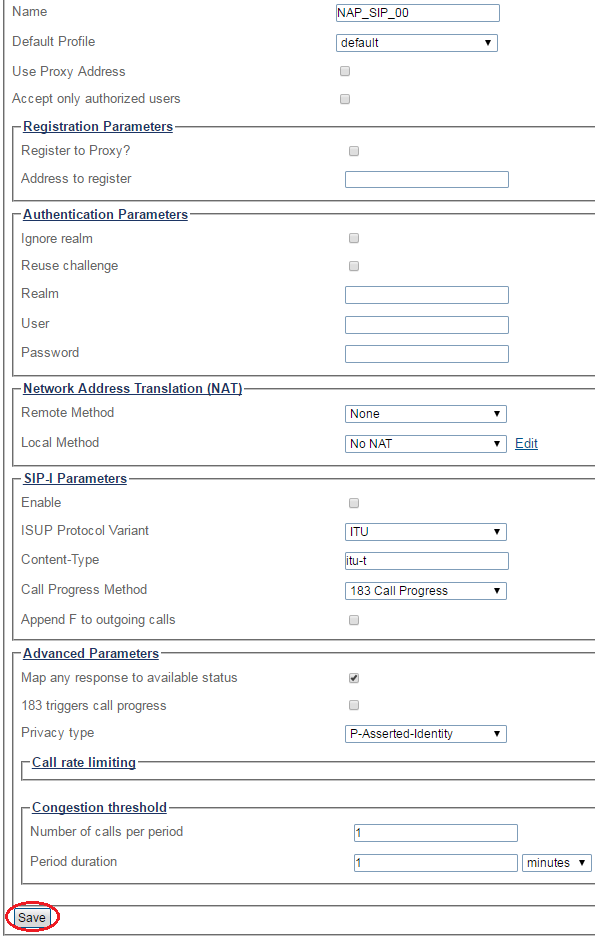
Configure settings for the following parameter groups as required
- Registration Parameters
- Authentication Parameters
- Network Address Translation
- SIP-I Parameters
- Advanced Parameters
1- Click Save
