Creating an SNMPv3 User
From TBwiki
Applies to version(s): v2.8.
No default SNMPv3 users are created by default.
Note: If SNMPv3 is used, for security reasons SNMPv1 and SNMPv2 users should be removed completely from the configuration.
To create a new SNMPv3 user, do the following:
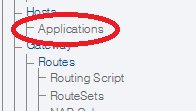
- Click Applications in the navigation panel.
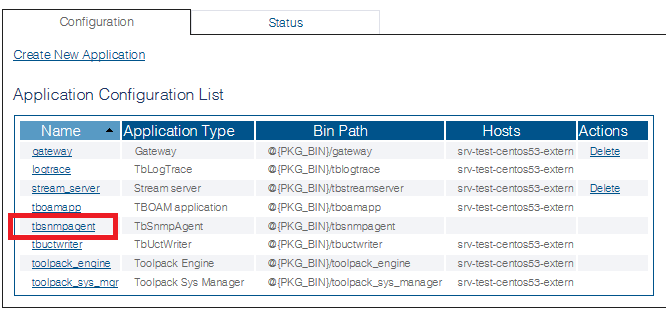
- In the Application Configuration List, select tbsnmpagent.
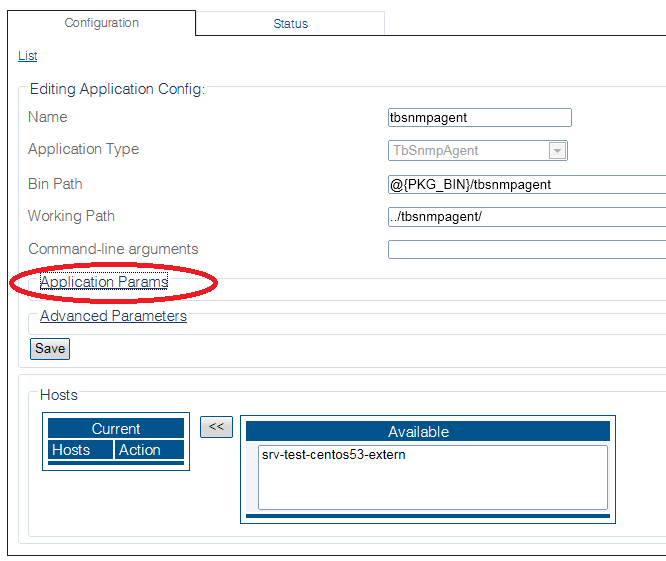
- Click Application Params
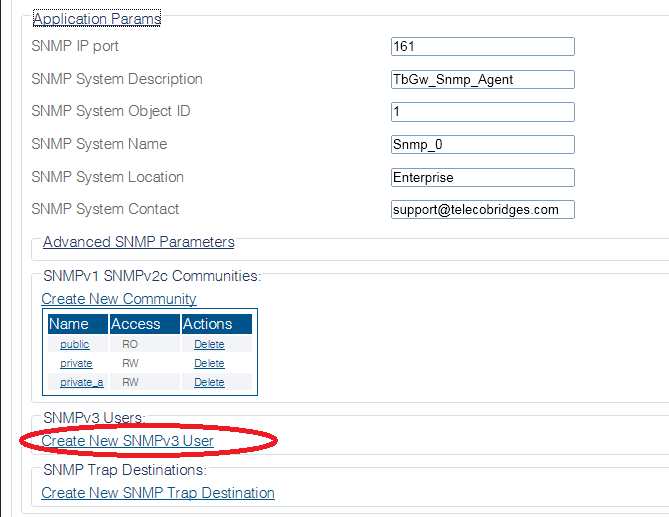
- Click Create New SNMPv3 User
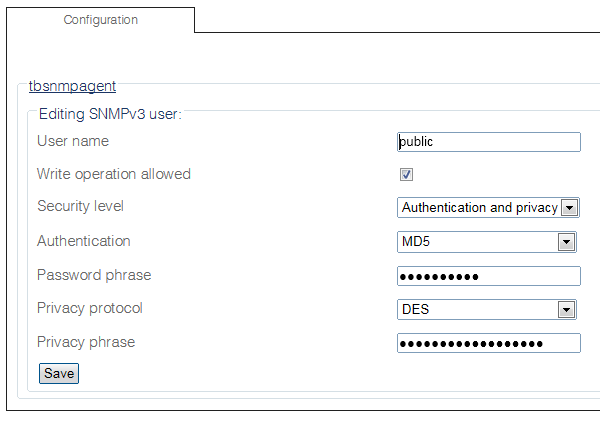
- In the user creation window:
- Enter a unique name for the user
- Click the check box to allow or disallow the write privilege for the current community
- Click the security level drop-down box to select authentication and privacy settings
- Click the authentication drop-down box to select the authentication algorithm to use
- Enter a pass phrase in the password phrase text box to set an authentication pass phrase
- Click the privacy protocol drop-down box to select the privacy standard to use
- Enter a pass phrase in the privacy phrase text box to set a privacy pass phrase
- Click Save
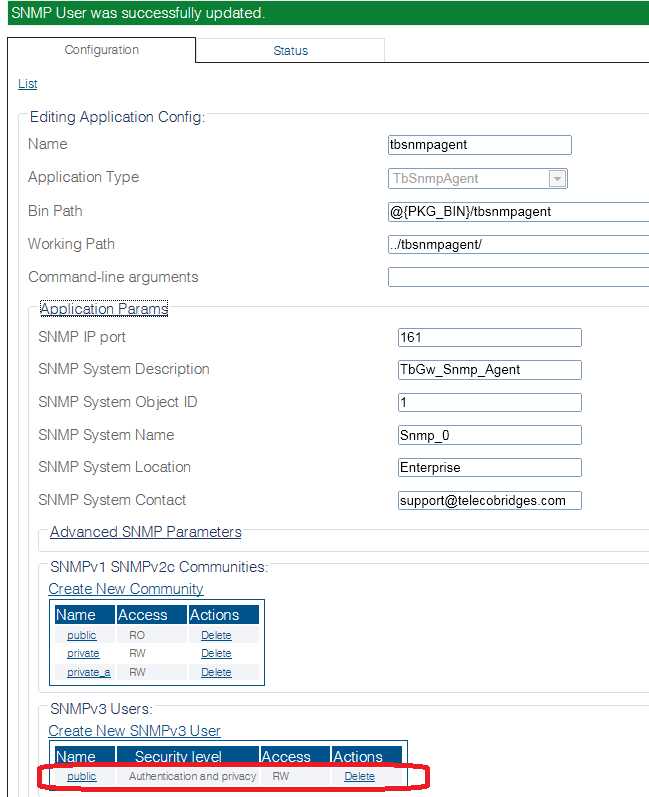
- Verify that the "SNMP user was successfully created" message is displayed and that the new user appears in the SNMPv3 Users list.
List of Parameters
